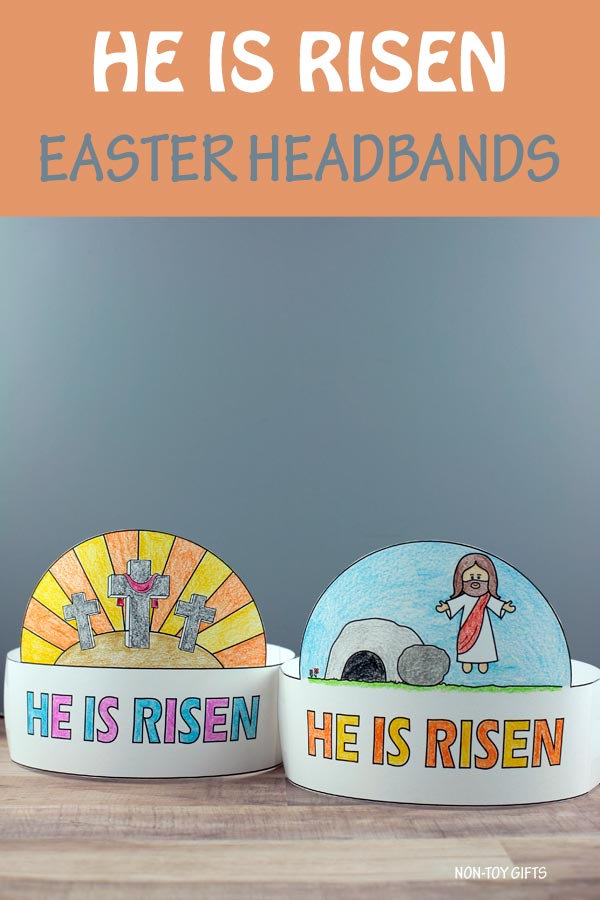
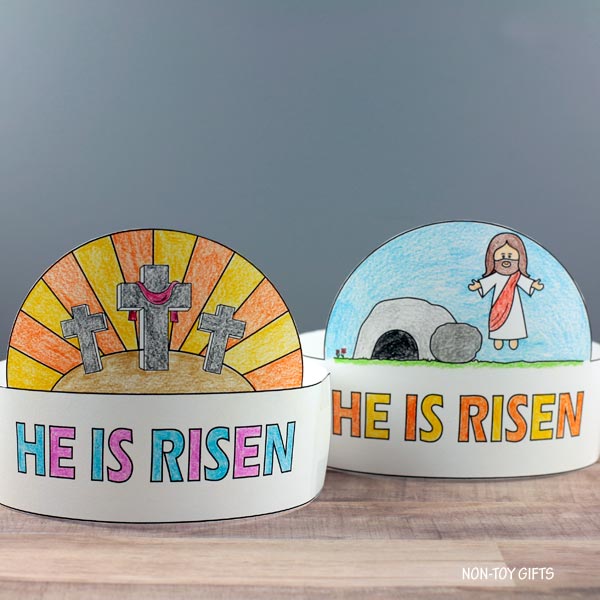
Headbands are one of the top crafts for children. These He is Risen headbands are a great way of celebrating the resurrection. Not only is this coloring activity easy for home or Sunday School, but it also requires no prep work! This simple craft is sure to bring amusement to your child.
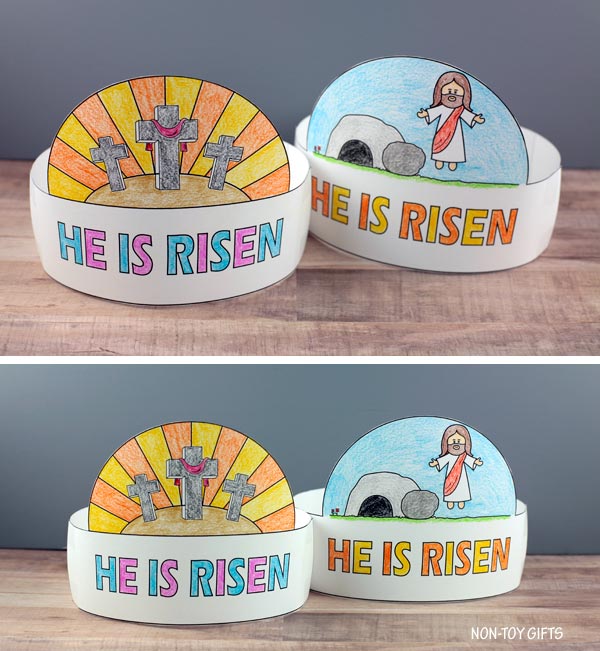
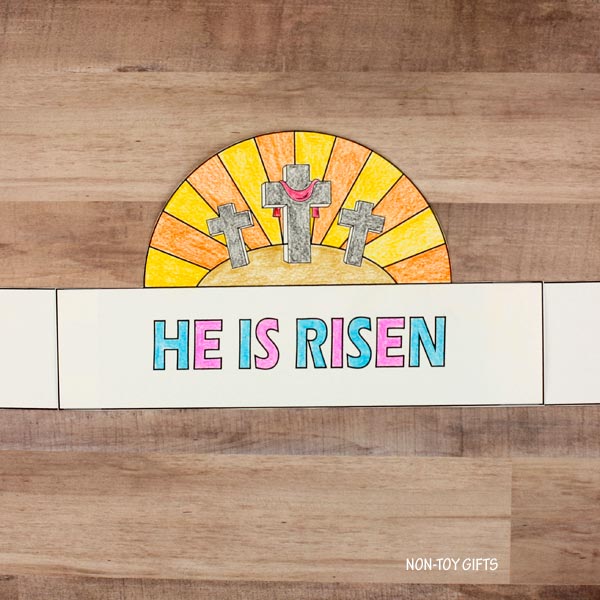
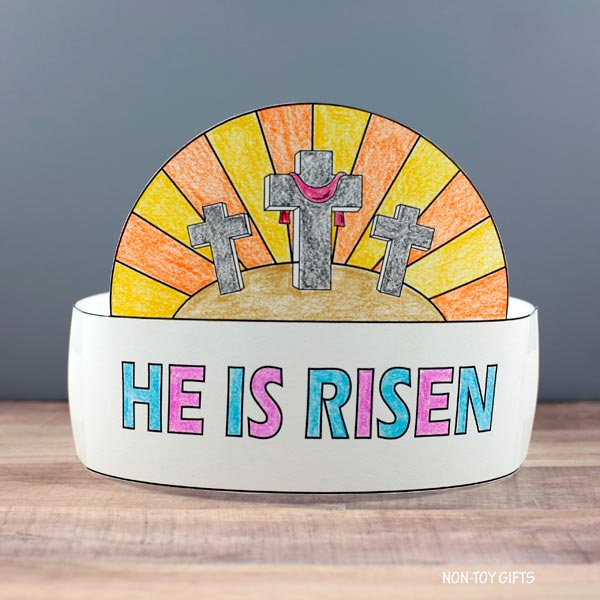
Begin by coloring the Easter paper hats. If you’re teaching your child about Easter, try to have them start by coloring the crosses. While they’re adding in colors, explain that Jesus died on the cross for their sins. This love was given to everyone freely. We can feel and receive this love as we trust in Jesus.
As they color in the beams of light, explain that Jesus helps bring light into our lives. If your child is scared of the dark, talk about how the light makes them feel safe. Jesus does the same thing for us! He brings light into the darkness of our lives and helps us to feel safe with him.
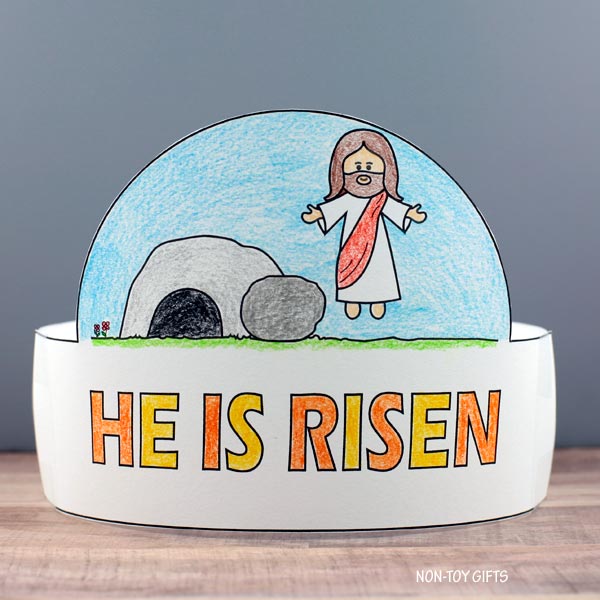
Next, move on to the second coloring crown. This visual is great for talking about the tomb and how Jesus was dead for three days, but on the third day–he rose again! Teach your child about the saying, “He is Risen.” We say this because Jesus rose from the dead!
After they finish coloring, cut out the headbands and tape them together. Depending on your child’s age, they may need extra assistance with this part. However, any way they can contribute will help their fine motor skills!
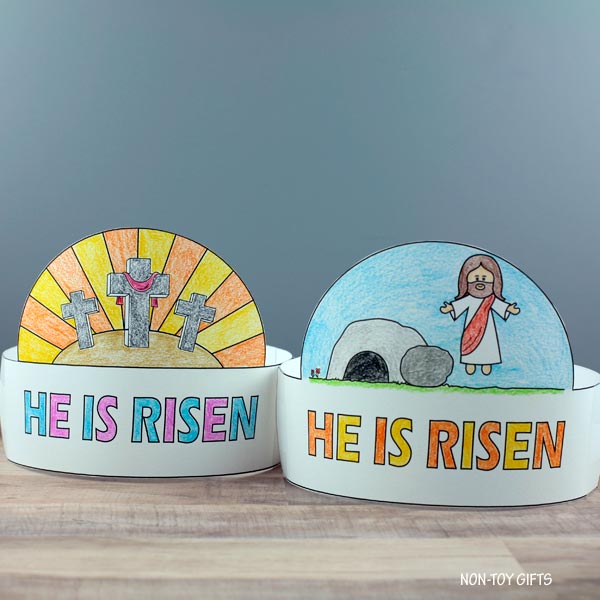
Once this craft is finished, your child will have a fun headband to wear for the rest of the day. These He is Risen headbands are perfect for preschoolers, especially. However, a mixed age group could be helpful as the older kids can assist in cutting and taping. No matter who participates, this craft is sure to be a hit!
He Is Risen Headbands
This post contains affiliate links. I may receive commissions for purchases made through links in this post at no cost to you.
Supplies:
- Easter paper hat templates
- White cardstock paper
- Colored pencils – my favorite
- Scissors
- Tape
Step by step instructions
Print the headbands on white paper.
Color the front of the headbands.
Tape the two long paper strips to the front strips.
Bend the paper strips into circles. Wrap the bands around the kid’s head to check for fit. Tape the ends together.