It can be challenging to teach a child about the seven days of creation. However, with visual aids and hands-on activities, this subject becomes easy to manage. The creation story 3D craft is a great way to simply explain the story of creation to your child!
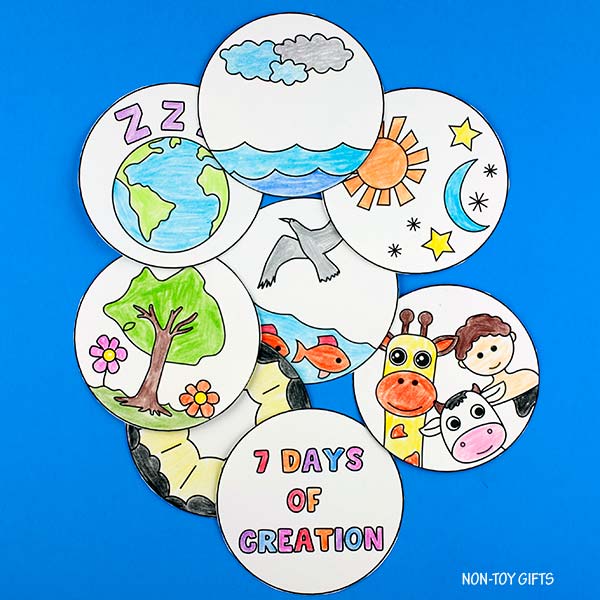
Grab some string, a glue stick, and a pair of scissors before beginning. Print out the 8 circles and allow your child to color them as you share the story.
Begin with the image of light. On the first day, God made light. To make this a discussion, ask your child what we need light for? How does light make us feel when we are scared?
Next, God made the land to divide the waters. Have your child color the image of the sea with clouds.
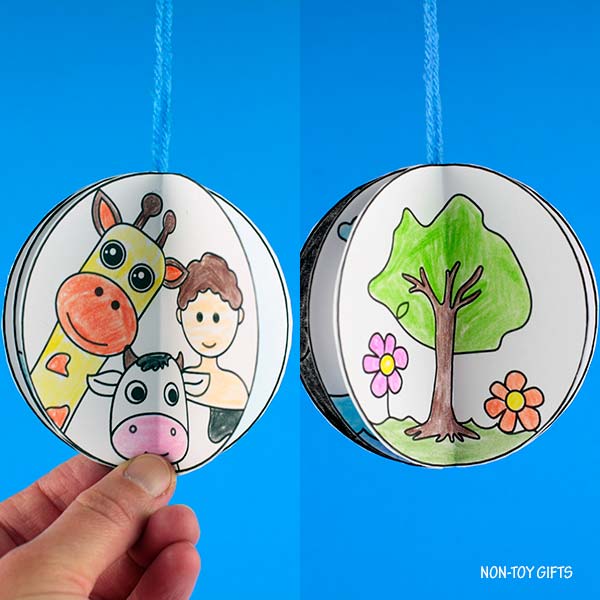
On the third day, the Lord made plants! Ask your child what their favorite plants are and discuss that God made them just for us.
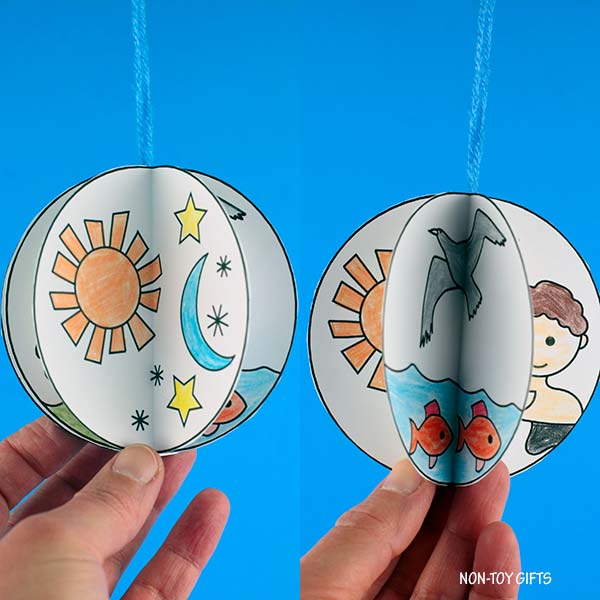
The fourth day was when God made the sun, moon, and stars. Talk about the beauty of the night sky and how the sun helps us during the day.
Next, the Lord made birds and sea creatures! Discuss the amazing creatures in the ocean and the pretty song birds that fly in the air.
On the sixth day, God made land animals and humans. This is a great place to stop and discuss how important humans are to God. We are made in His image! He loves us and wants to care for us. Everyone on earth is special because they are made in the image of God. This is why we are to treat everyone with kindness and respect.
Finally, on the seventh day, God rested. It’s important to rest after we work! God blesses it.
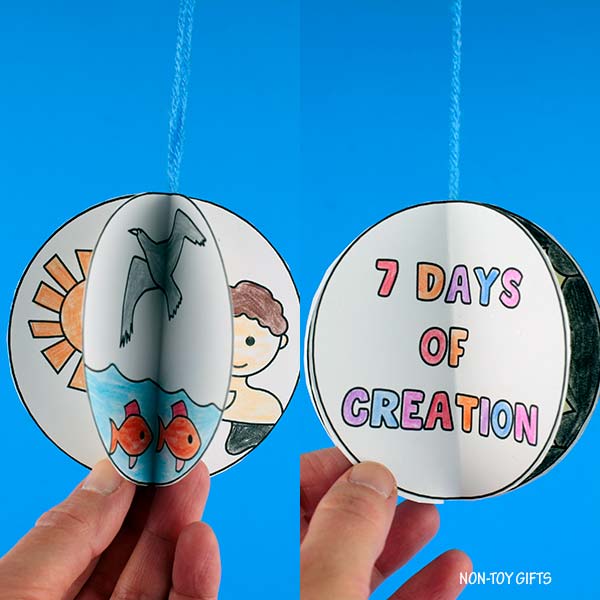
After all the circles have been colored, if your child is old enough allow them to cut out the circles. If not, cut them out yourself. Next, fold each circle in half. Glue them together to form a circle, making sure to add the string. And voila! The creation story 3D craft is complete.
The Creation Story 3D Craft
This post contains affiliate links. I may receive commissions for purchases made through links in this post at no cost to you.
Supplies:
- The Creation Story craft template
- White cardstock paper
- Colored pencils – my favorites
- Scissors
- Glue
- Yarn
- Tape
Step by step instructions
Start by printing the scenes on white cardstock paper.

Color all eight scenes and cut them out.
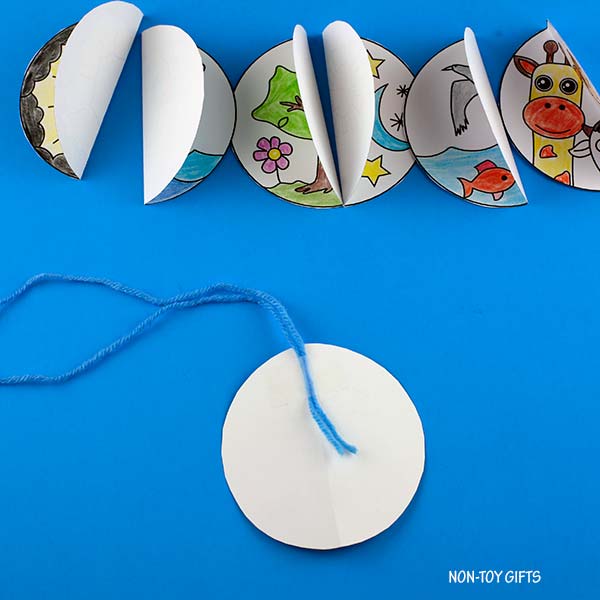
Fold all the circles in half.

Cut a strand of yarn, fold it in half and tape it to the back of the first circle.
Add glue to half of the first folded scene and attach it to the half of the second scene.
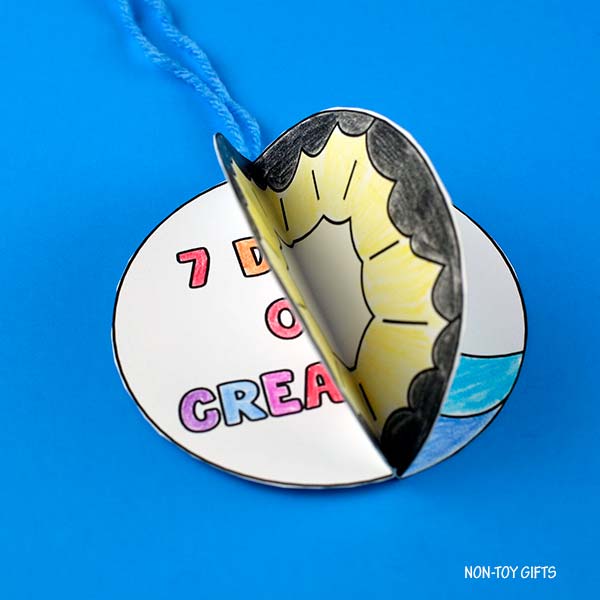
Continue gluing the rest of the circles back-to-back in order.
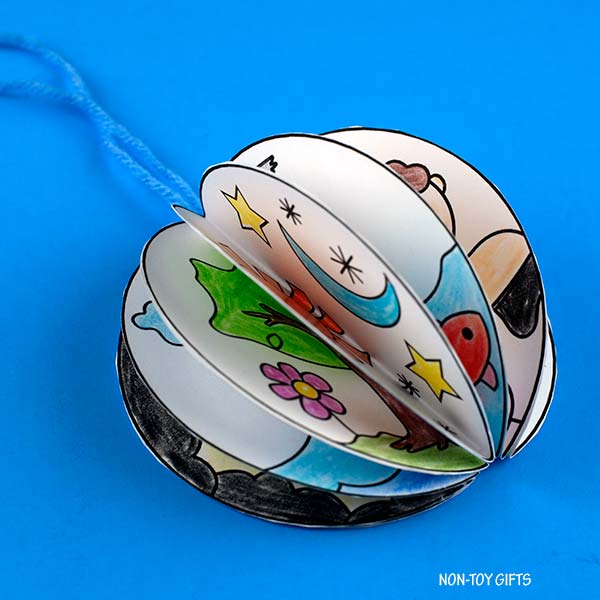
Finish with the last scene, that is glued to the first one to form a ball.