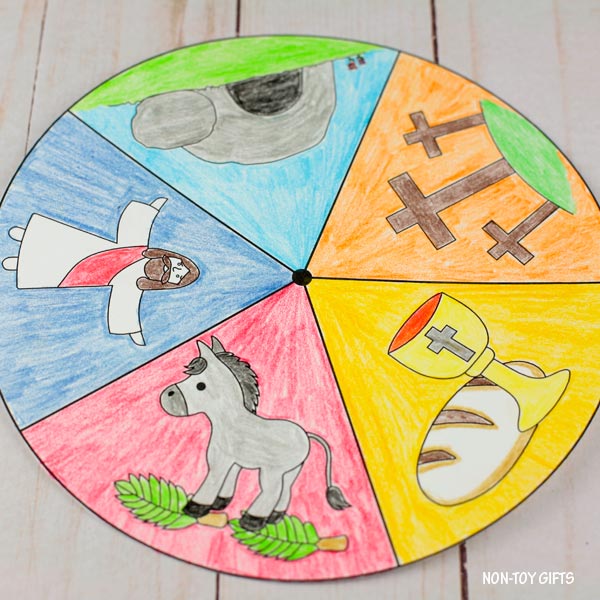
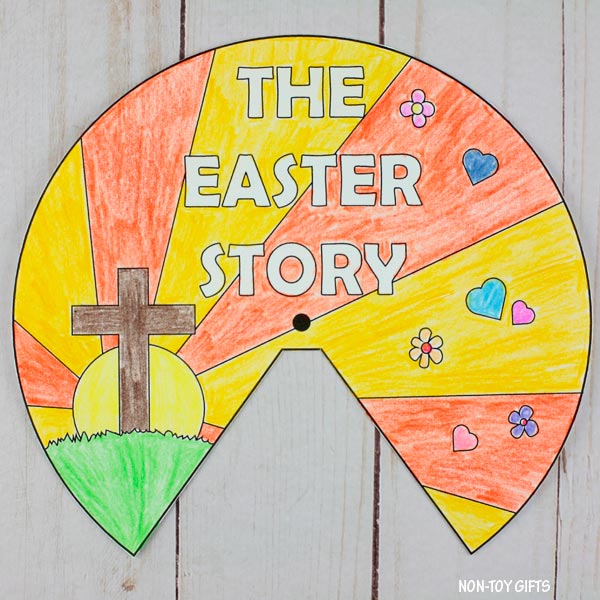
Looking for a fun and easy way to teach the Easter story so that little kids can understand? The Easter story wheel is a great craft to use for Sunday school or at home, where you can explain to kids the significance of each image included in the spinner.

You can start by reading the Easter story, talk about Jesus’ death, burial and resurrection and then finish with this interactive craft.
SAVE WITH BUNDLES
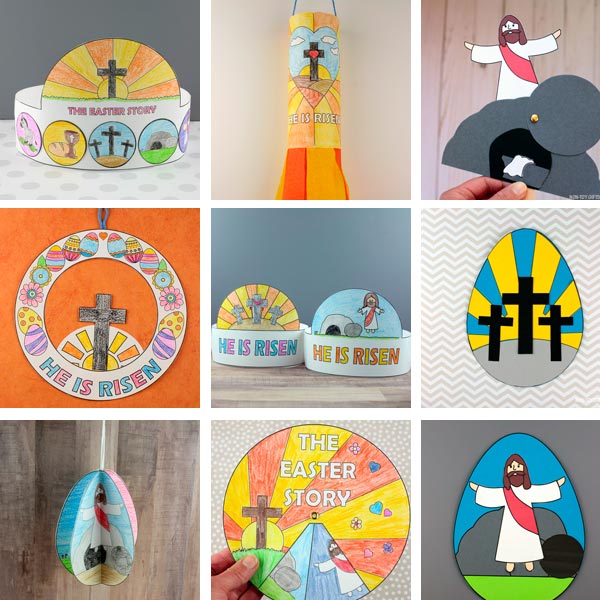
This craft is part of an awesome Easter bundle. Make sure to check it out.
We have added several resurrection crafts to our Easter craft collection (the most popular is this He is Risen! craft) but this craft focusses on the entire Easter story, starting with the Palm Sunday and including the most important events leading up to the Easter Sunday.


I have created a bigger version of the Easter story wheel with just one wheel per page so that younger kids can easily color it and a smaller version with both wheels (story wheel and cover wheel) on the same page.
The Easter story craft


This post contains affiliate links and I will be compensated if you make a purchase after clicking on my links.
Supplies:
- The Easter story template
- White cardstock paper
- Colored pencils or markers
- Paper fastener
- Hole punch
- Pencil
- Scissors
How to make the Easter story spinner
Start by printing the story wheel and cover on white cardstock paper and cutting them out.


Color the story wheel.


Color the cover wheel.


Use a hole punch to make a hole in the middle of the cover. (where marked)


Use a pencil to make a hole in the middle of the story wheel. (where marked)


Attach the story wheel and cover together with a paper fastener.


