An easy paper groundhog craft to make with kids for Groundhog Day!
I admit I haven’t paid too much attention to Groundhog Day before kids started going to school.
Now, they are all excited to find out if the groundhog saw its shadow or not so I thought it was time to come up with our first groundhog craft.

If you’re looking for Groundhog Day craft ideas that are simple that even kids as young as preschoolers can make, our groundhog may be for you.
I have created a groundhog template for an easy craft experience in the classroom or at home.
If used in a preschool classroom or elementary school, our craft can be easily paired with a reading or writing activity.


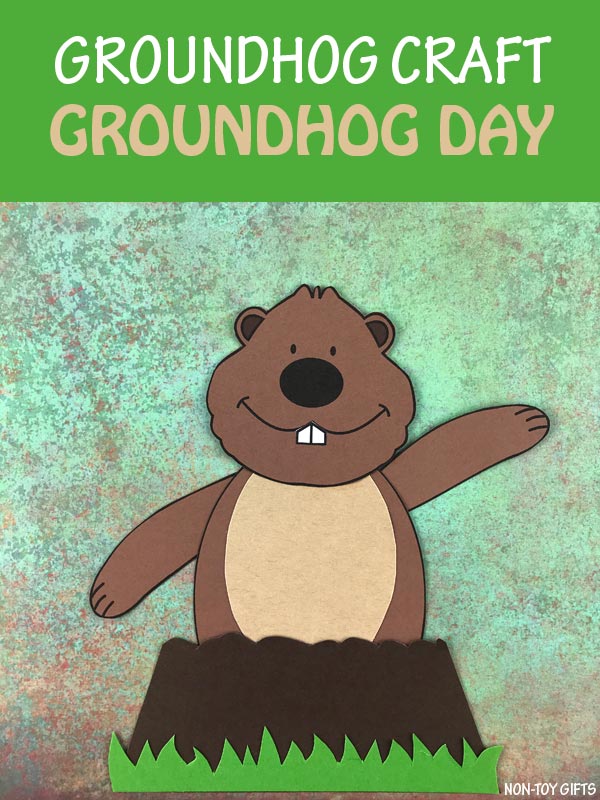
Our cute little groundhog has just come out of the dirt and is ready to tell us if it saw its shadow or not. What do you think it will say?
For more February craft ideas, check out our Valentine’s Day crafts and winter crafts.
Groundhog craft


This post contains affiliate links and I will be compensated if you make a purchase after clicking on my links.
Supplies:
- Groundhog craft template
- Paper: brown, light brown, dark brown, white and green
- Scissors
- Glue
How to make a groundhog craft
The groundhog template comes with two versions:
-Option 1- print the template directly on colored paper. The colors are mentioned on each page.
-Option 2 – trace the patterns on colored paper and cut out.
This way you can easily craft with just one or two kids as well as with a classroom full of students.
Step by step directions
To make the groundhog, you will need 1 brown head, 1 white teeth piece, 1 brown body, 1 light brown body detail, 2 brown arms, 1 dark brown dirt and 1 green grass.


Start by gluing the teeth underneath the smile.


Glue the body detail onto the body.


Glue the head on top of the body.


Glue the arms to the back of the body, one arm on each side of the body.


Glue the dirt at the bottom of the body.


Glue the grass at the bottom of the dirt.