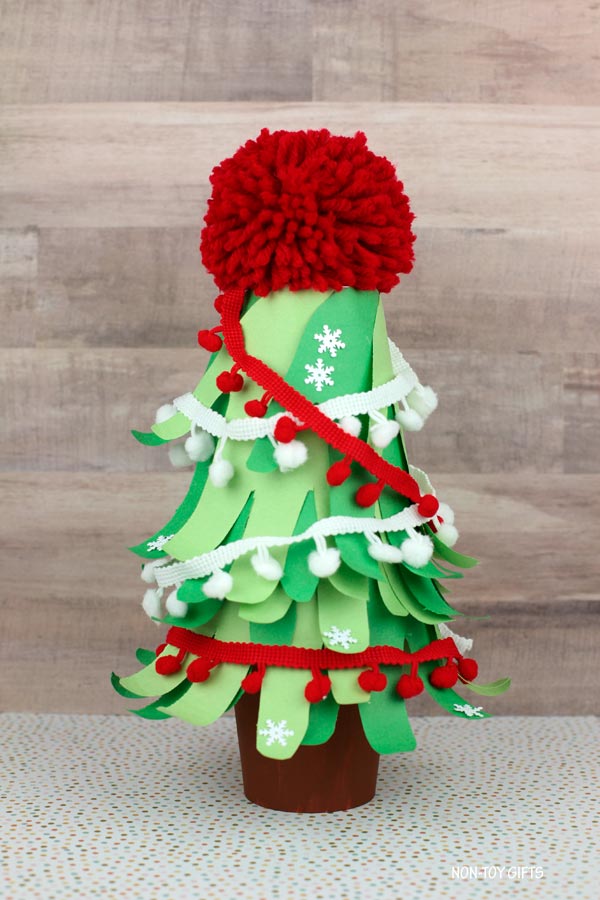
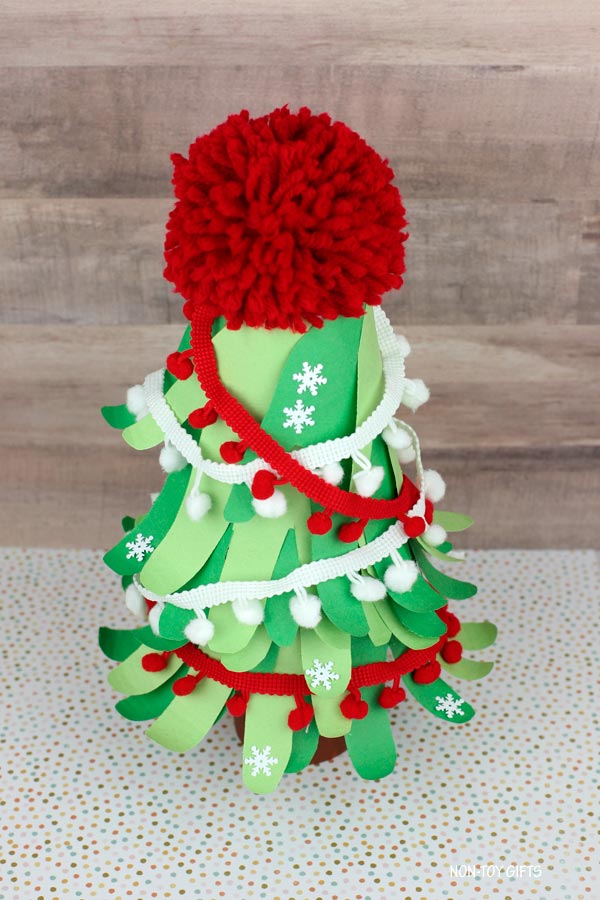
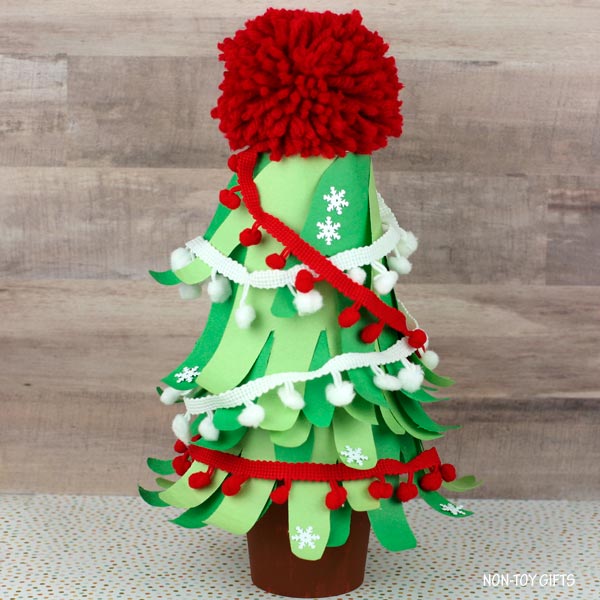
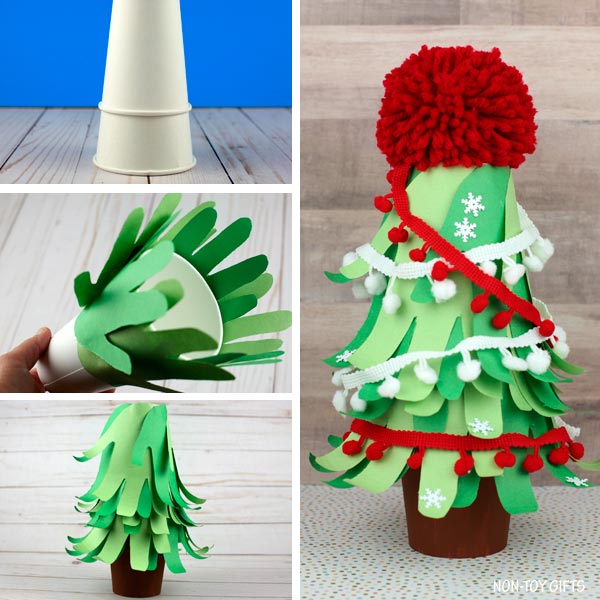
This handprint Christmas tree craft can be a great family or classroom project. Is it a simple craft that will make a beautiful display at home or in the classroom.
When more kids participate or when all family members are involved in creating this Christmas tree, they can write their names on the handprints.
We love handprint crafts and while most of our crafts only require one handprint, we do have a few crafts where we have used several handprints. Take a look at this handprint flower bouquet I created for my kids’ teachers. This will give you an idea how the tree will look like if you decide to write the names on the handprints.
If you feel you’re in the mood for more Christmas crafts for kids, make sure to check out these 30 Christmas tree crafts or these 24 handprint Christmas crafts.
This handprint Christmas tree craft will require adult supervision as the handprints are glued to paper cups using a hot glue gun. An alternative would be to give kids a low temp glue gun. I started with a low temp glue gun with my boys and now they are comfortable to use a regular hot glue gun.
Handprint Christmas tree craft
This post contains affiliate links and I will be compensated if you make a purchase after clicking on my links.
Supplies:
- 2 white 9oz paper cups
- white 12oz paper cup
- brown craft paint
- paintbrush
- green construction paper
- hot glue gun or low temp glue gun with glue sticks
- big red pom pom
- mini pom pom trim
- pencil
- scissors
How to make a DIY Christmas tree decoration
Start by painting one of the 9oz paper cup brown. Set aside to dry completely.
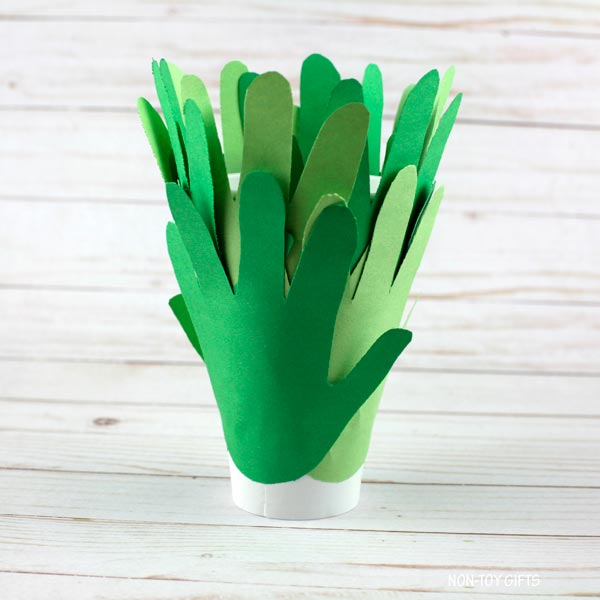
Trace your kid’s handprint on green construction paper and cut it out. Repeat to get as many handprints you want to use for your Christmas tree. We used 22 handprints.
TIP: Use different green hues for the handprints.
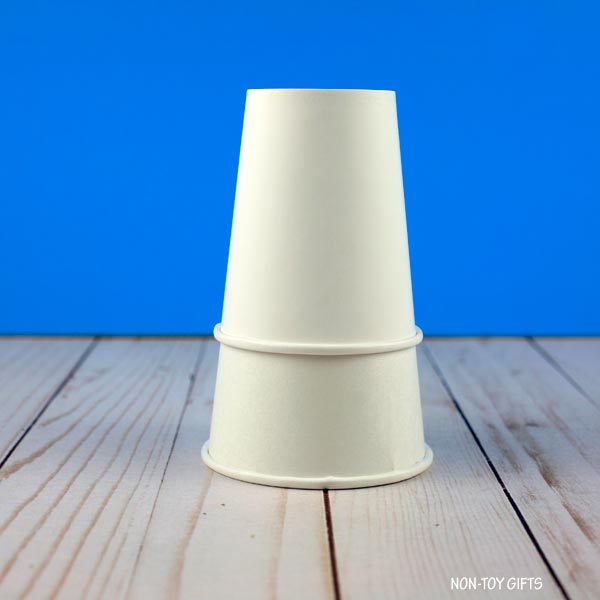
Stack the white 9oz paper cup on top of the 12oz paper cup and glue them in place.
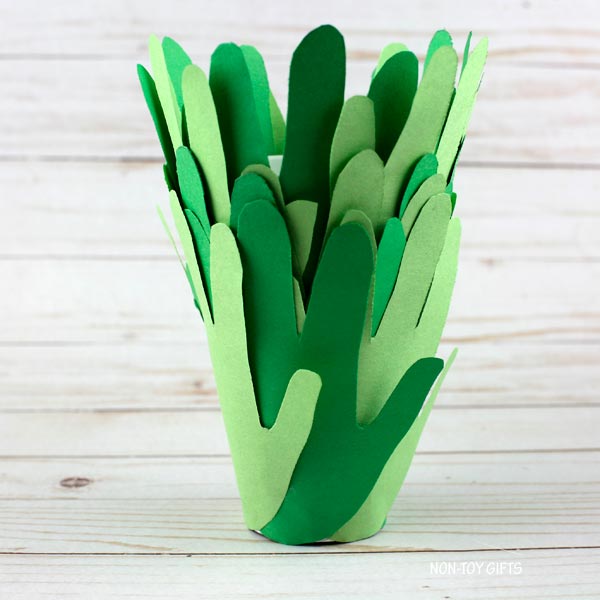
Glue the handprints onto the two paper cups. Start at the bottom and go around the paper cup.
Glue the second layer of handprints and finish with a third.
TIP: If you use less handprints than we did, you may want to create only two layers of handprints.
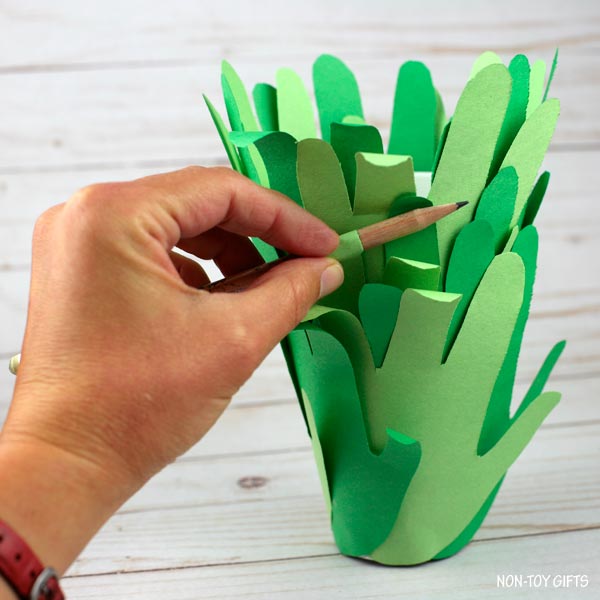
Use a pencil to curl the fingers up.
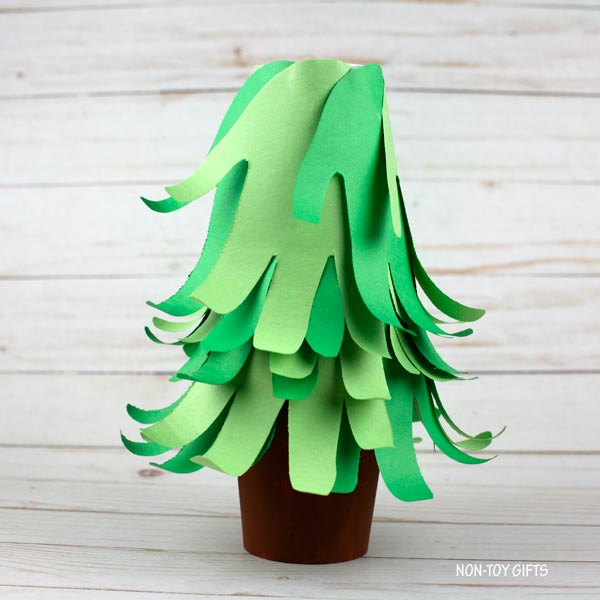
Place the tree on top of the brown paper cup. You can glue them in place but it isn’t really necessary.
Now you can start decorating. We used a big red yarn pom pom for the top and mini pom pom trim to go around the tree. We also had some tiny snowflakes at hand and added them too.


Handprint Christmas Tree Craft
Make a beautiful handprint Christmas tree craft with kids in the classroom or with your family and use it as a holiday decoration.
Materials
- 2 white 9oz paper cups
- white 12oz paper cup
- brown craft paint
- paintbrush
- green construction paper
- big red pom pom
- mini pom pom trim
- pencil
Tools
- scissors
- hot glue gun or low temp glue gun with glue sticks
Instructions
- Start by painting one of the 9oz paper cup brown. Set aside to dry completely.


- Trace your kid’s handprint on green construction paper and cut it out. Repeat to get as many handprints you want to use for your Christmas tree. We used 22 handprints.
- Stack the white 9oz paper cup on top of the 12oz paper cup and glue them in place.


- Glue the handprints onto the two paper cups. Start at the bottom and go around the paper cup.


- Glue the second layer of handprints and finish with a third.


- Use a pencil to curl the fingers up.


- Place the tree on top of the brown paper cup. You can glue them in place but it isn’t really necessary.


- Now you can start decorating. You can use a big pom pom for the top, mini pom pom trim to go around the tree and tiny stars or snowflakes.


Notes
TIP: Use different green hues for the handprints.
Recommended Products
As an Amazon Associate and member of other affiliate programs, I earn from qualifying purchases.


