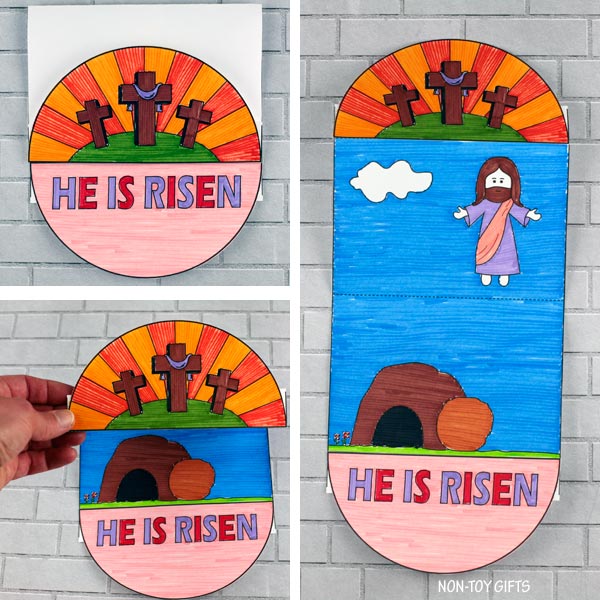
The final product of this He is Risen interactive craft is sure to wow your child. Akin to a pop-up book, this is a wonderful way to tell the Easter story. Time to get out the scissors, crayons, and glue!
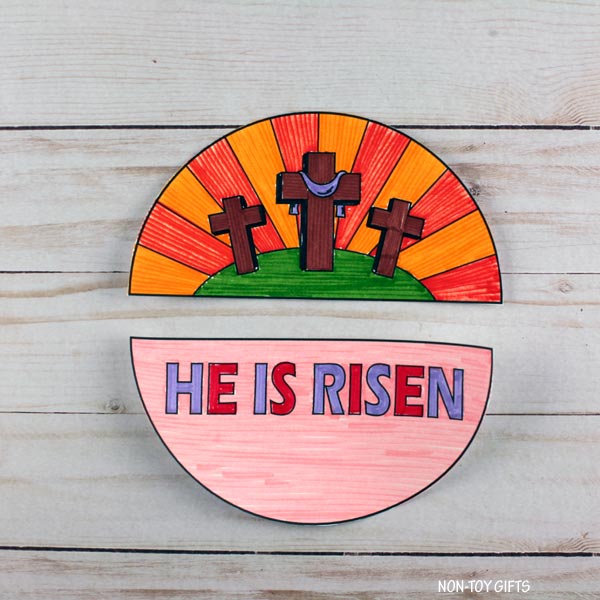
Start off by coloring the half circle with the three crosses. While your child scribbles, describe that this was where Jesus died. Jesus went to the cross to bring us close to God and give us forgiveness of sins.
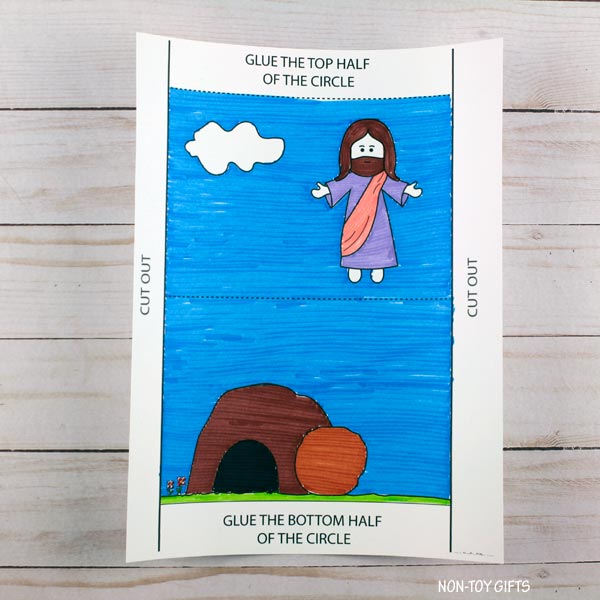
Next, have your child color the printout of the tomb and Christ’s ascension. Jesus was dead for three days, but he was made alive again. Jesus beat death so that all who come to him can have true life and no longer fear death.
Jesus left earth by going into the sky and he will return the same way! He told us to go tell everyone the good news that we can be forgiven and live with God someday because of his sacrifice on the cross.
Last, color the He is Risen half circle. You can teach your child that we say “He is Risen” because it means that Jesus is alive!
After the coloring is all finished, cut out the shapes. Allow your child to do this step if they’re old enough. Next, fold the long sheet in half–include your child on this step as well! Lastly, glue the pieces together. As you unfold the craft, it will reveal the risen Christ!
MORE EASTER RELIGIOUS CRAFTS:
Suggest that your child use this He Is Risen interactive craft to teach a sibling or family member the story of Easter! No only is it a wonderful way for them to show off their craft, it will also help cement the story in their mind as they retell it!
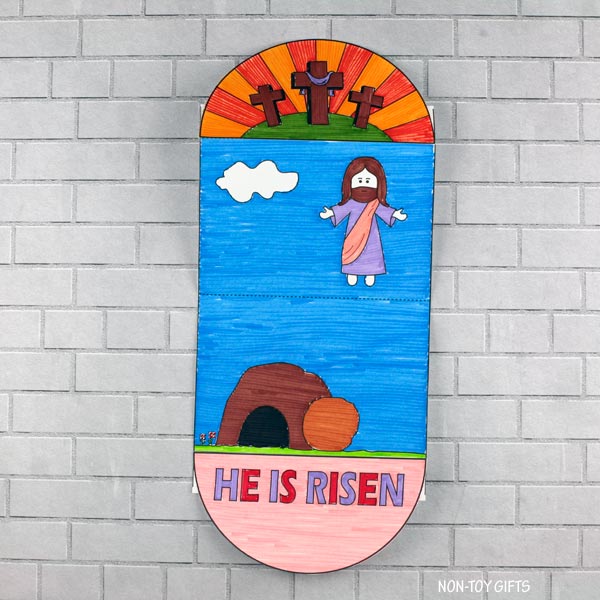
He Is Risen Interactive Craft

This post contains affiliate links. I may receive commissions for purchases made through links in this post at no cost to you.
Supplies:
- He Is Risen craft template
- White cardstock paper
- Colored pencils – my favorites
- Scissors
- Glue
How to make the interactive Easter craft
Start by printing the two circle halves on white cardstock paper, color in and cut them out.
Print the last page of the template and color it.
Trim the white sides of the last page of the template.
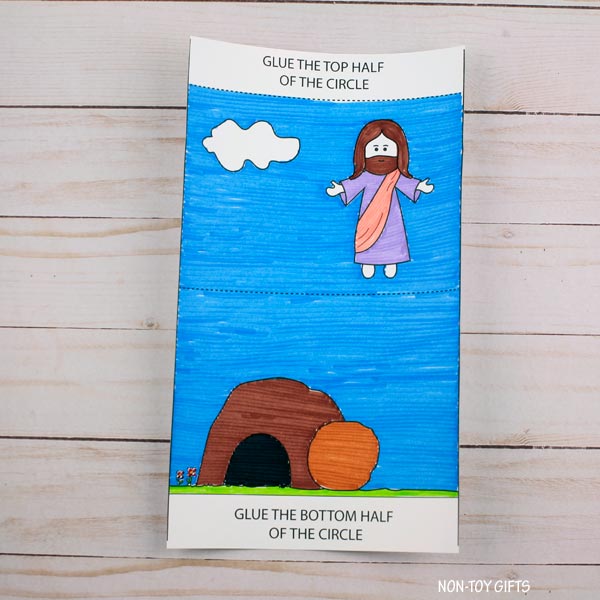
Lay the paper with the drawing facing up and fold it in half along the center dotted line. Fold backward along the top dotted line. Don’t fold along the bottom line.
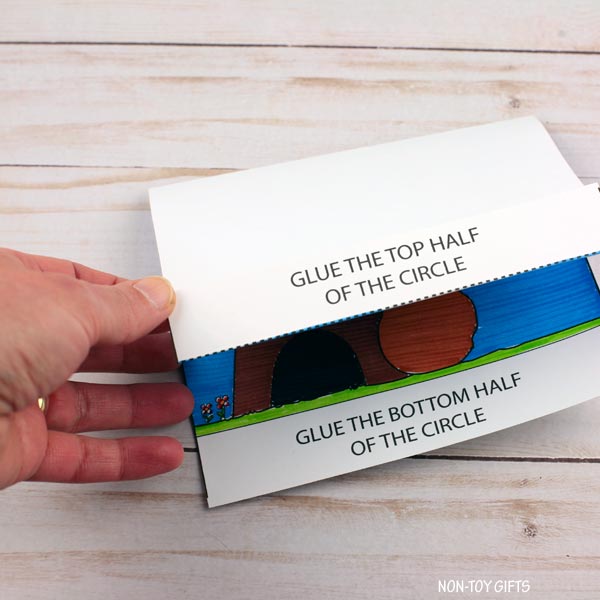
Glue the bottom half of the circle at the bottom of the folded page, where marked.

Glue the top half of the circle at the top of the folded page, where marked.
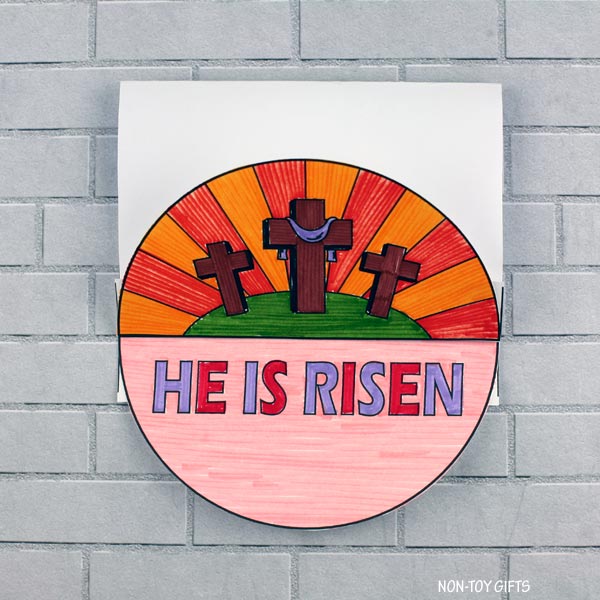
Pull the top half circle upward to see the drawing inside.