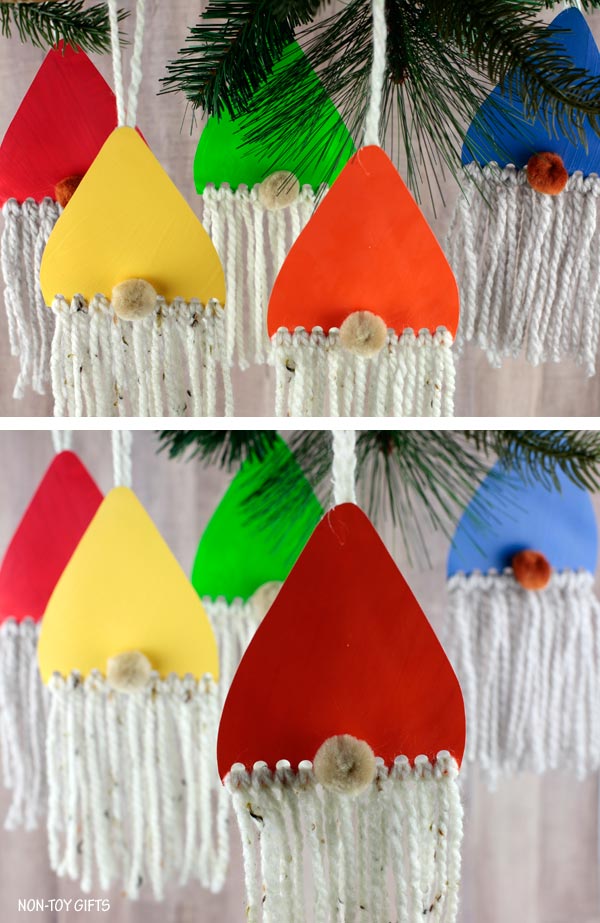
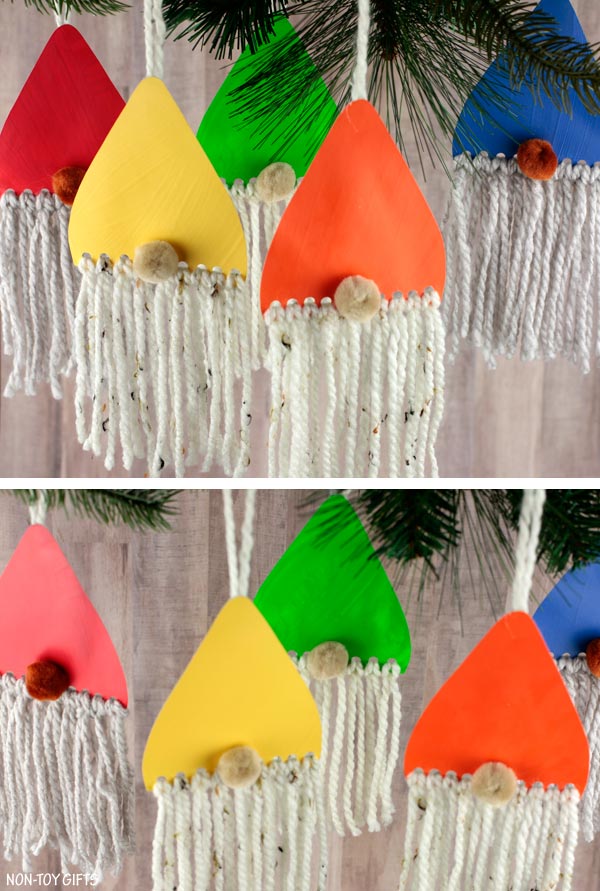
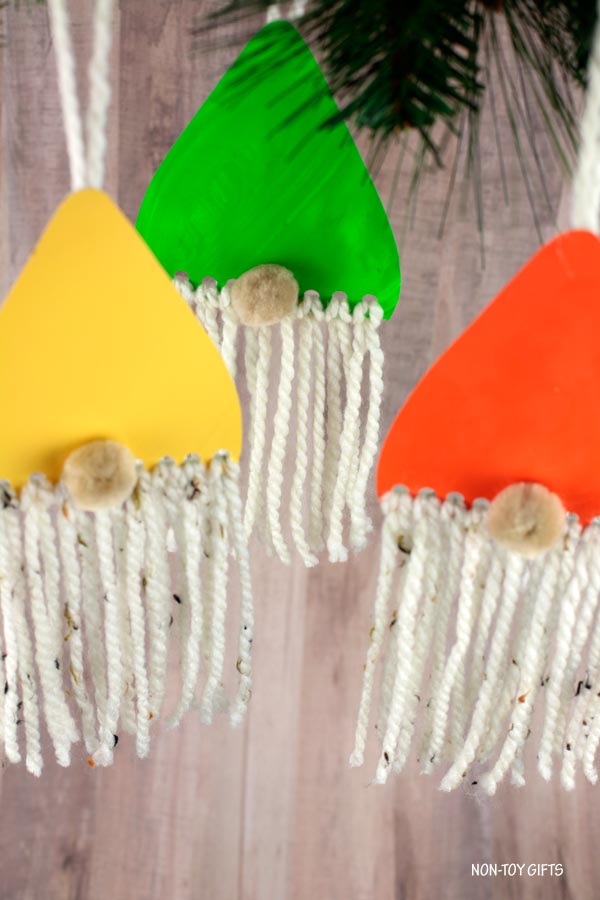
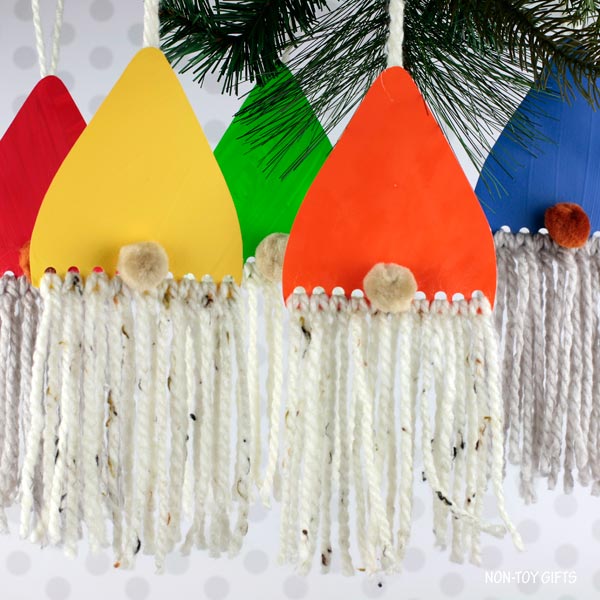
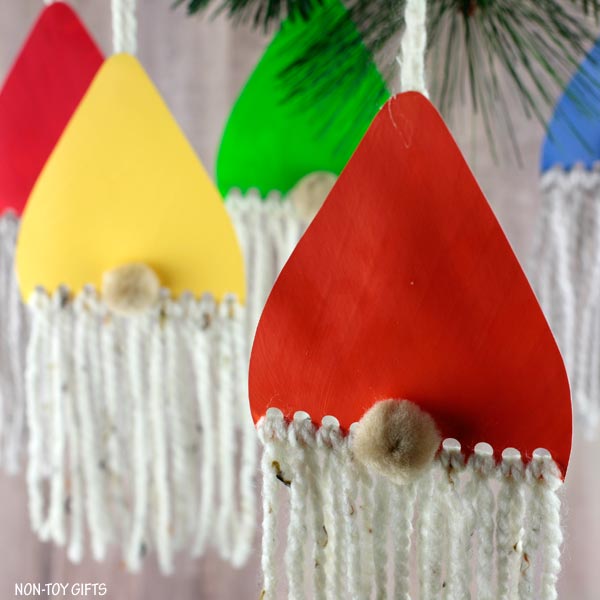
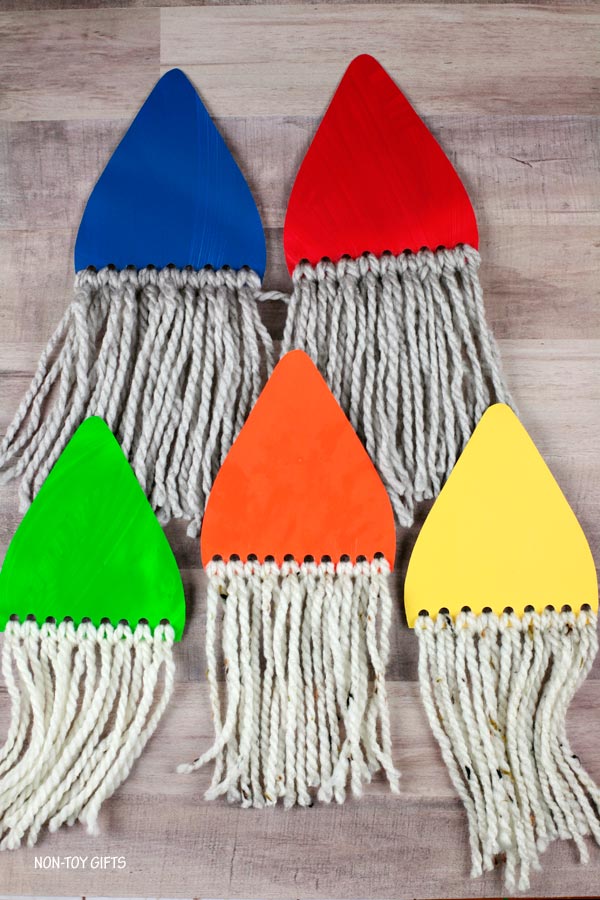
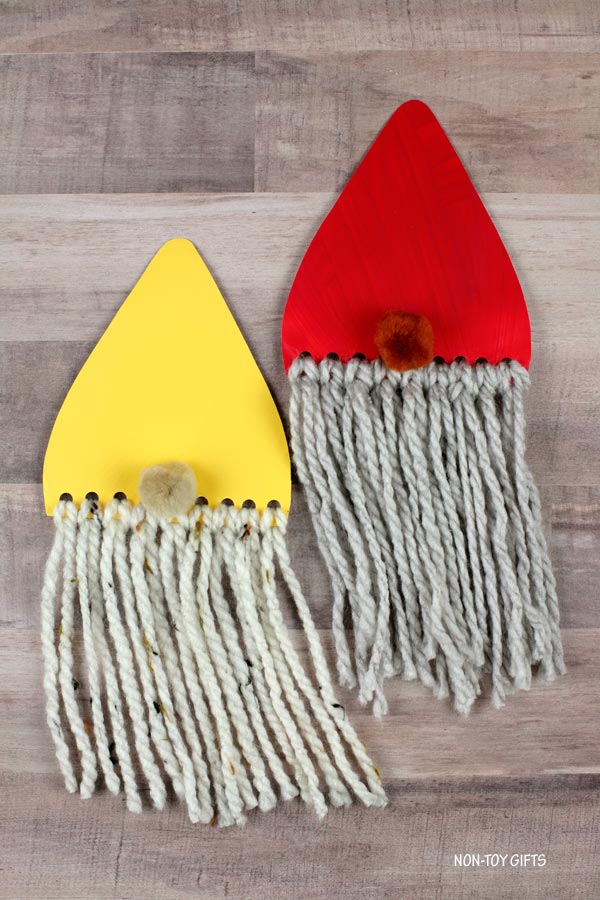
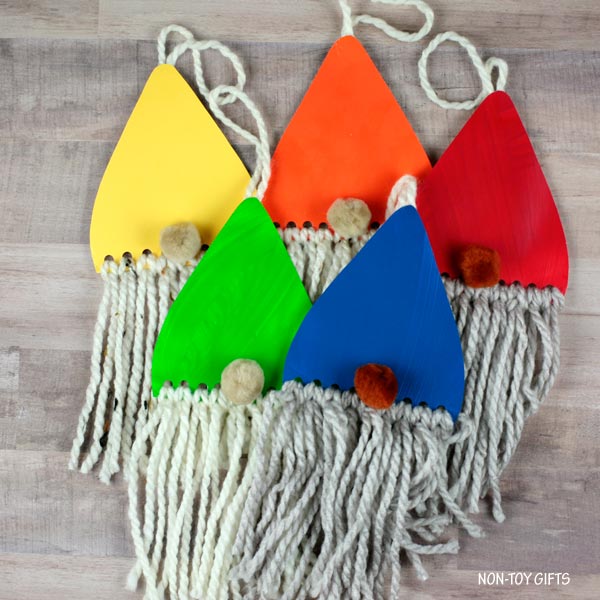
These paper plate DIY gnome ornaments are easy to make with kids. Hang them in the Christmas tree or decorate the mantle.
Maybe your family enjoys an ornament making tradition. You get together as a family and each member creates an ornament to hang in the Christmas tree. Or you keep one ornament and gift the rest to grandparents, aunts and uncles.
Or maybe you love gnomes and want to add some personality to your home this holiday with a few Christmas gnomes. And why buy them when handmade gnomes are easy to make?
Either way, I got you covered with these beautiful rainbow paper plate DIY gnome ornaments.
History of gnomes
Gnomes have been around since forever in folklore but the first garden gnomes were created in Germany in the early 1800s. They soon spread through other European countries, being especially popular in England and France. They were small clay statues designed as garden decorations for the wealthy people in Europe.
After World War I gnomes started loosing their popularity but in the 1930s the Disney movie Snow White and the Seven Dwarfs brought them back to life. This time garden gnomes were affordable and everyone was able to purchase them.
These days you find gnomes mentioned in famous books, they are game or movie characters, and you can admire them in parades or gnome-themed parks. (I didn’t even know until now that there was a gnome park in Minnesota, where I live. It goes on my list of things to do next summer).
What do gnomes symbolize?
Gnomes are a symbol of good luck.
And as we all need good luck in our homes, let’s make these handmade Christmas gnomes ornaments today.
Last week we created these paper plate gnomes – a yarn and paper plate craft for preschoolers and older kids to use as a sewing activity.
The gnome ornaments we’re making today is another Christmas craft idea for kids. They are easy to make and will help little ones with hand-eye coordination and fine motor skills.
I created a free gnome printable template for the hat and you can find it at the end of the post.
Paper plate DIy gnome ornaments
This post contains affiliate links and I will be compensated if you make a purchase after clicking on my links.
Supplies:
- gnome hat template – find it at the end of the article
- paper plate
- craft paint
- white or gray yarn
- white, light brown or brown pom pom
- paintbrush
- scissors
- hole punch
- hot glue gun with glue sticks
How to make DIY gnome ornaments
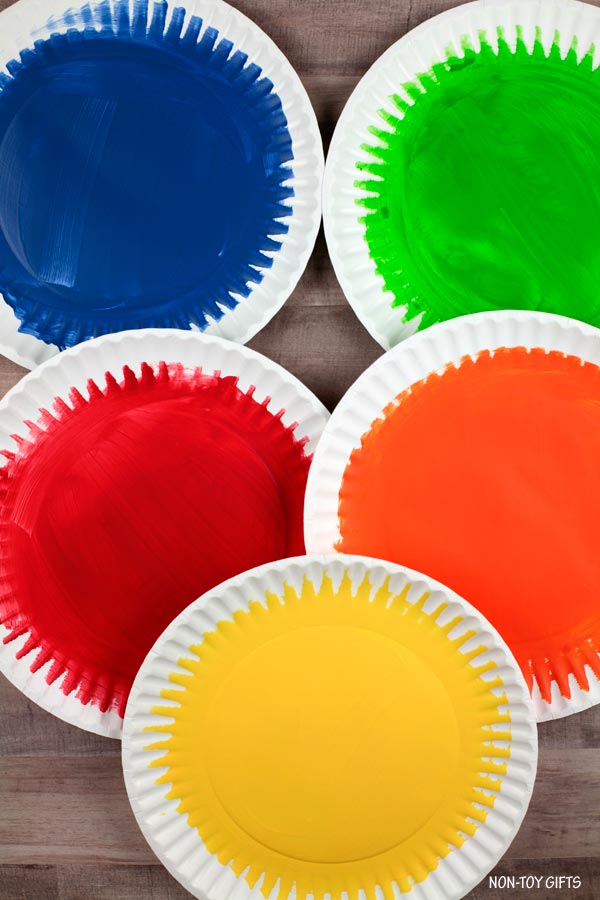
Start by painting a paper plate in any color of your choice. This will be turned into the gnome’s hat.
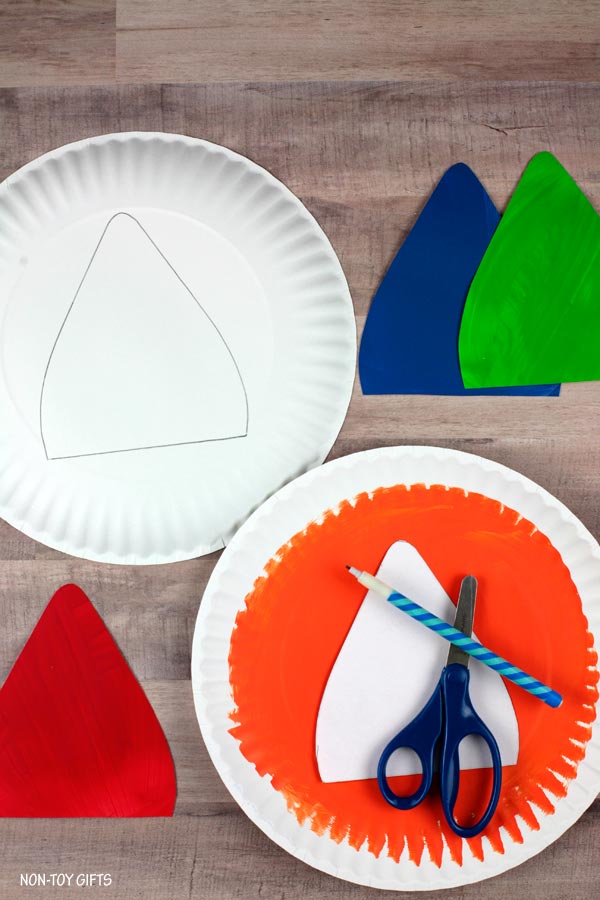
Download the template and cut out the hat pattern.
Once the paint has dried out completely, turn the paper plate face down and trace the hat onto the back of the plate. Cut it out.
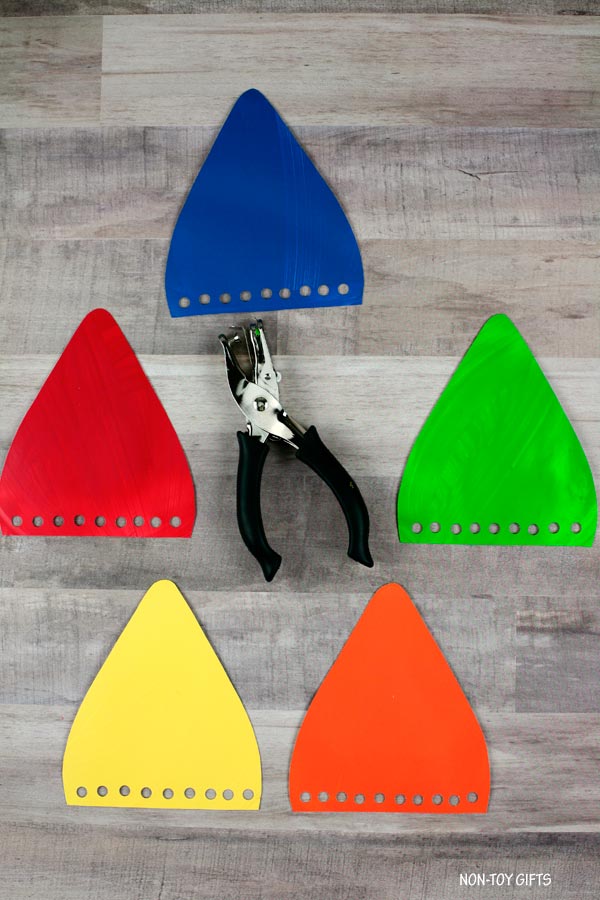
Use a hole punch to make holes at the bottom of the hat.
Cut several strands of yarn to match the number of holes. Make sure the strands are all of the same length.
Fold one strand in half and thread the fold through a hole in the hat to make a loop. Thread the other end of the yarn through the loop and pull it tight to secure it to the hat. Repeat until you are done with all the gnome’s beard.
Glue a pom pom at the bottom of the paper plate hat.
Cut out another strand of yarn and glue it to the back top of your ornament.


Paper Plate DIY Gnome Ornaments
Make beautiful Christmas gnome ornaments with paper plates and yarn. This is an easy craft for kids to make for the holidays.
Materials
- gnome hat template – find it at the end of the article
- paper plate
- craft paint
- white or gray yarn
- white, light brown or brown pom pom
Tools
- paintbrush
- scissors
- hole punch
- hot glue gun with glue sticks
Instructions
- Start by painting a paper plate in any color of your choice. This will be turned into the gnome’s hat.
- Download the template and cut out the hat pattern.
- Once the paint has dried out completely, turn the paper plate face down and trace the hat onto the back of the plate. Cut it out.
- Use a hole punch to make holes at the bottom of the hat.
- Cut several strands of yarn to match the number of holes. Make sure the strands are all of the same length.
- Fold one strand in half and thread the fold through a hole in the hat to make a loop. Thread the other end of the yarn through the loop and pull it tight to secure it to the hat. Repeat until you are done with all the gnome’s beard.
- Glue a pom pom at the bottom of the paper plate hat.
- Cut out another strand of yarn and glue it to the back top of your ornament.
Notes
TIP: You can use a colored paper plate and skip the painting step.
Sign up for our Newsletter and get this Gnome Ornament Template as a thank you!


