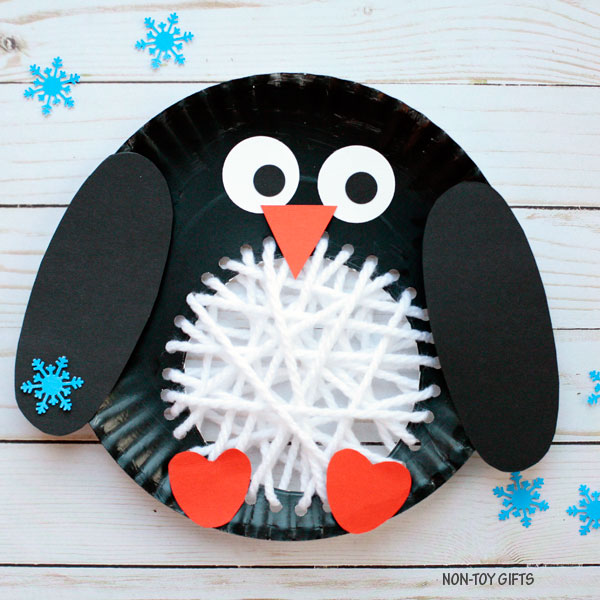
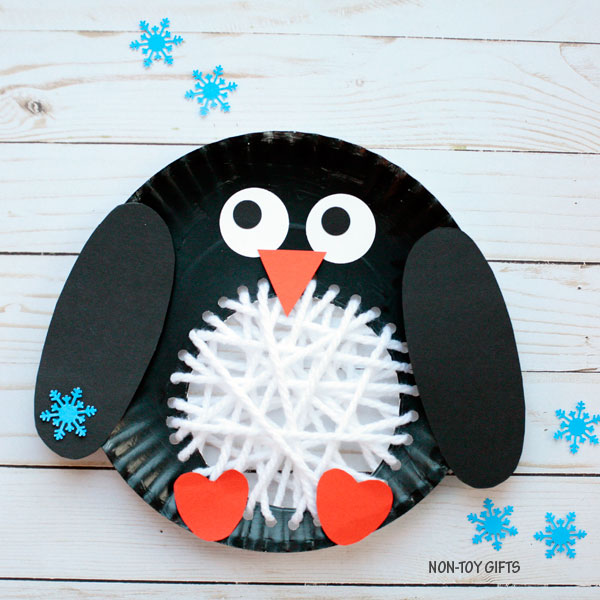
Whether you’re looking for an Arctic animal craft or an easy winter craft idea for kids, you will love this paper plate penguin craft.
It comes with a free craft template and it is a great opportunity for kids to practice their fine motor skills by sewing the penguin’s belly.
If you have a young kid who doesn’t have enough patience to sew the penguin’s belly, you can replace the yarn belly with white construction paper.
This way, the craft will be all about painting, cutting and gluing – all fun activities for busy little hands.


This is a fun craft to do with your kids on a winter day when you don’t feel like going outside in the cold.
Use this opportunity to talk about penguins.
Penguin fun facts
Penguins are among the cutest animals on Earth and kids love them. No wonder they have become movie stars and many kids books have penguins as main characters.
There are many cool facts about penguins and these are just a few:
- The penguins black and white suit acts like a camouflage
- Emperor penguins incubate eggs on their feet and males are in charge of it, while females go out to look for food
- Penguins spend 80% of their lives in the water and they are waterproof
- There is only one penguin species that lives in the Southern Hemisphere, the Galapagos penguin


Winter crafts
If you want to keep on crafting with paper plates, here is a nice collection of 25 paper plate winter crafts for kids.
While our yarn penguin is a great sewing activity, you can also use penguins to help kids review shapes. This mix and match penguin craft uses six basic shapes.
Paper plate penguin craft

This post contains affiliate links. I may receive commissions for purchases made through links in this post at no cost to you.
Supplies:
- free penguin template – find it at the end of the post
- paper plate
- black paint
- construction paper or card stock : white, black and orange
- white yarn
- glue
- paint brush
- hole punch
- plastic yarn needle
How to make a paper plate penguin craft


Start by painting the paper plate black and set it aside to dry completely.
Download the paper plate penguin template (find it at the end of the article ), cut out the eyes and all the other shapes.
Trace the beak and foot shapes on orange construction paper or card stock and the flipper shape on black paper. You will need two flippers and two feet.
Trace the circle shape at the bottom of the paper plate and cut it out.


Make holes along the circle .
Cut a big strand of white yarn, thread it through the plastic yarn needle and tie one end to the needle. Secure the other end of the yarn at the back of the paper plate with tape.
You can now start threading the yarn through the holes in the paper plate.
Continue until you reach the end of your yarn.
If you haven’t threaded through all the holes, you can cut another strand of yarn and follow the same steps as before. (Tie one end to the needle and secure the other end to the paper plate).


It’s glue time! Start with the eyes and then the beak.
Glue one flipper on each side of the paper plate and the feet at the bottom of the paper plate.

Use a paper plate and yarn to make a cute penguin craft this winter. As an Amazon Associate and member of other affiliate programs, I earn from qualifying purchases.

Paper plate penguin craft
Materials
Tools
Instructions
Recommended Products
Sign up for our Newsletter and get this Paper Plate Yarn Penguin Template as a thank you!


