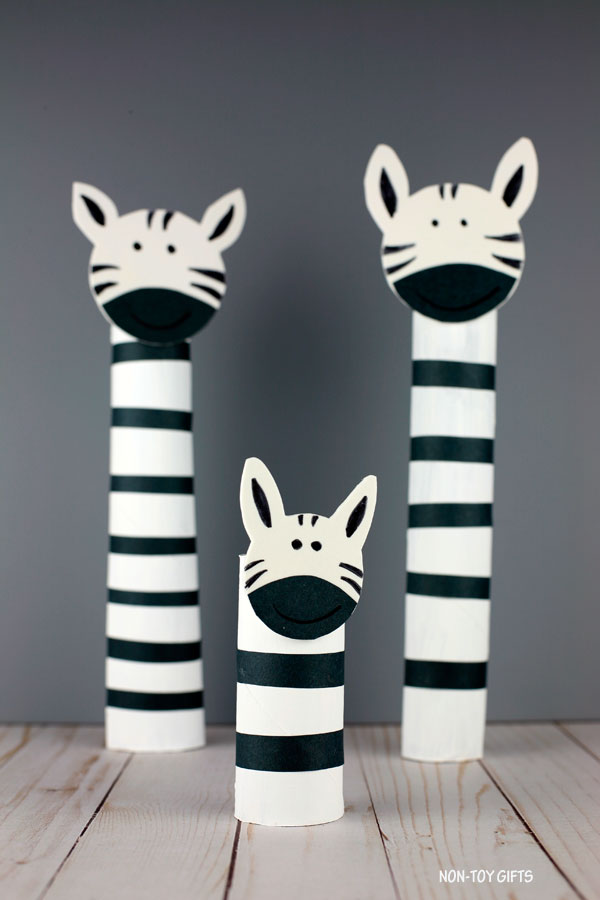
We have started making paper roll zoo animals this week. The giraffe family was the first on our list and today we’re creating a paper roll zebra craft.

If you like paper roll crafts as much as we do and want to recycle some of the items in your recycling bin, this craft is an easy one for preschoolers and older kids. There is no special tools you need, just paper rolls, paper, paint, a black marker, glue and scissors.


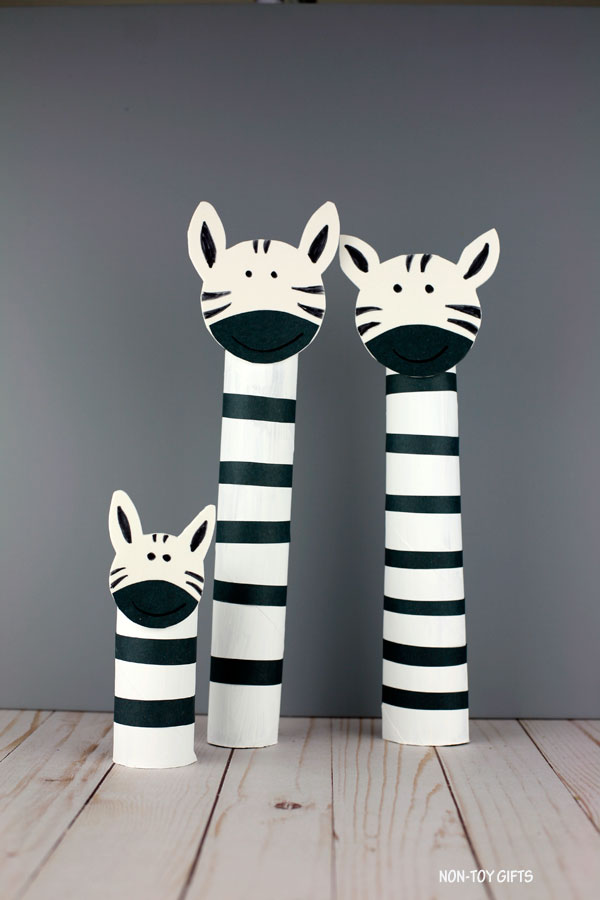
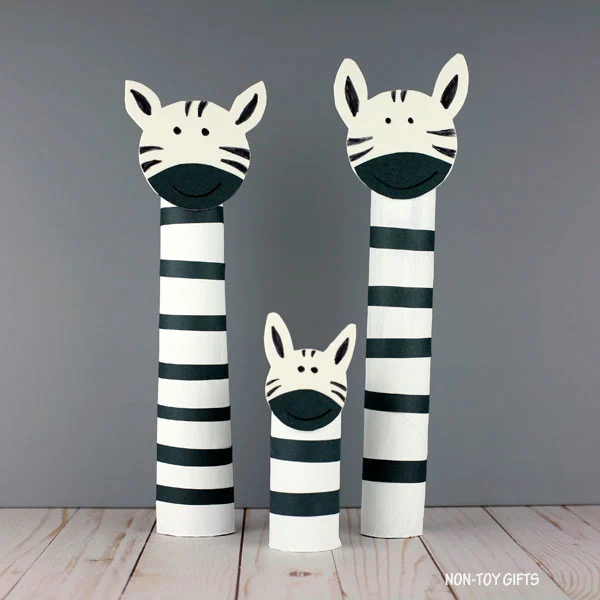
We made not just one zebra but an entire family: mom, dad and the zebra kid.


It’s hard with this social distancing as we can’t go to the ZOO and see the animals anymore. My 1st grader had a digital field trip to the San Diego ZOO yesterday and he really loved the online cameras that allowed him to take a peek at some of the animals. He loved watching the koalas but it’s still not the same as going to the ZOO.
Paper roll zebra craft


This post contains affiliate links and I will be compensated if you make a purchase after clicking on my links.
Supplies:
- paper rolls
- white craft paint
- black and white craft paper
- black marker
- glue
- pencil
Tools:
- scissors
- paint brush
- round cup or plastic container


How to make a paper roll zebra craft
Start by painting the paper roll white. Set it aside to dry completely.
Cut several strips of black paper.
Once the paint is dry, glue the black paper strips onto the paper roll.


Use a round cup or plastic container to trace a circle onto white paper. Draw two ears attached to the circles. Cut out the zebra’s head.


Use the same round cup or plastic container to draw another circle onto black paper. Cut out the circle. Draw a curved line at the bottom of the circle to make the snout. Then cut it out.


Glue the snout at the bottom of the head.


Use a black marker to draw the eyes, smile, ear details and stripes.
Glue the head to the top of the paper roll.
