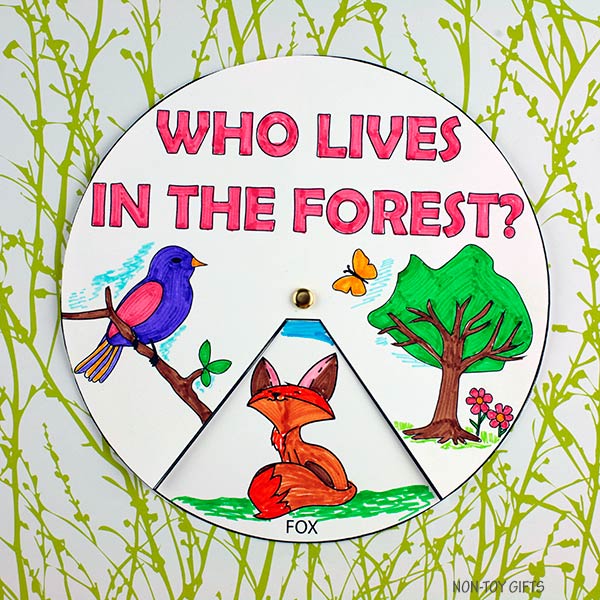
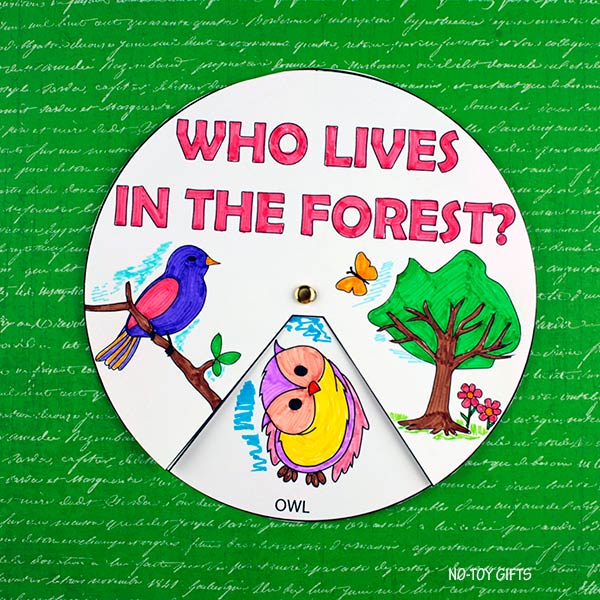
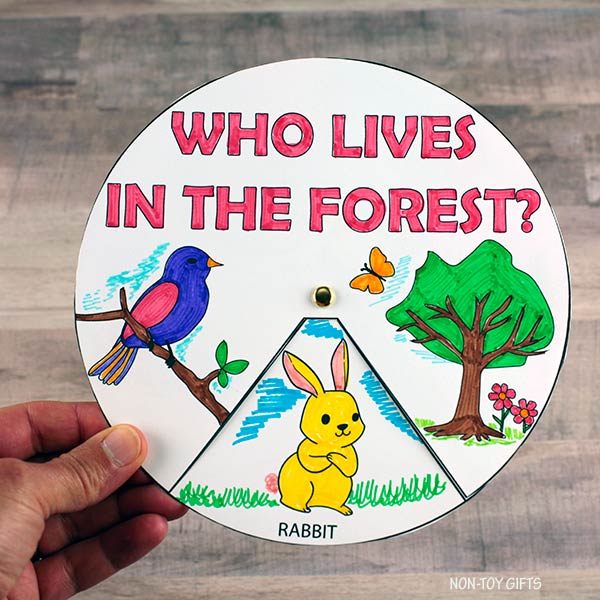
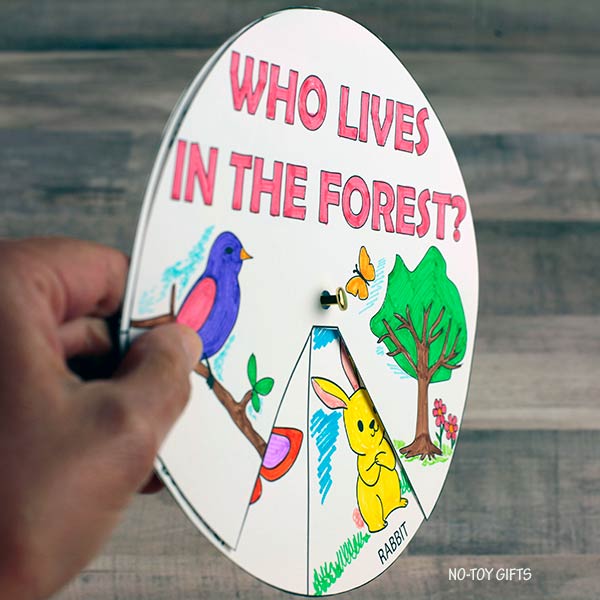
Crafting an educational experience for preschoolers can be both fun and informative. Our “Who Lives in the Forest” craft is designed to create an engaging opportunity for children to learn about animals in the forest while having a great time.
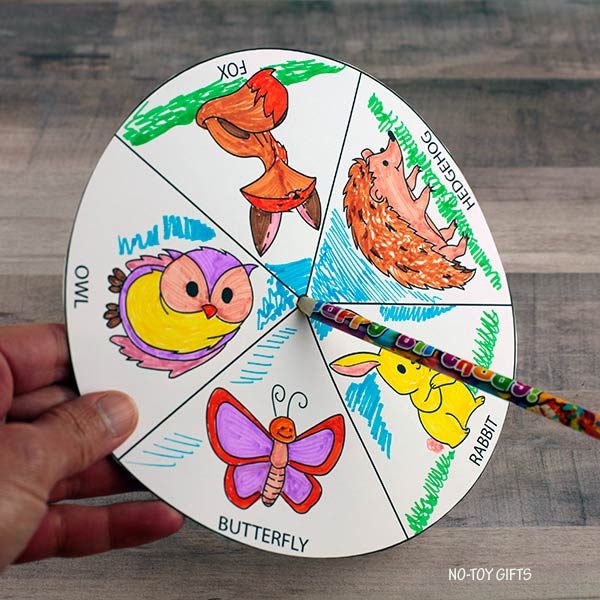
The “Who Lives in the Forest” craft focuses on five adorable forest creatures: the fox, rabbit, owl, butterfly, and hedgehog.
With simple outlines, children in varying age ranges can express their creativity by coloring them in the colors of their choosing.
This craft will help enhance their fine motor skills, hand-eye coordination, and artistic expression.
But this craft goes beyond just coloring. It’s an effective tool for teaching children about animal habitats.
As they color each animal, teachers or parents can take the opportunity to discuss where these creatures live and why.
Encourage children to think about the unique features of the forest that provide shelter, food, and safety for each animal.
For instance, talk about how the owl nests in tall trees and hunts small rodents at night, or how the butterfly relies on flowers for nectar.
The “Who Lives in the Forest” craft is a wonderful tool for preschoolers to learn about animals and their habitats. Through coloring and discussions, children can develop their artistic skills and gain a deeper appreciation for the wonders of the natural world.
Teachers or parents can also pair this activity with a lesson plan in order to make it more suitable for older children.
It can also be great “busy work” during a lesson plan about nature and animal habitats, since it is both educational and fun.
The template comes with two options: one with words on both cover and spinner and one without, in case you want to let the kids write the name of the farm animals or you want to use the craft with another language than English.
Who lives in the forest craft
This post contains affiliate links and I will be compensated if you make a purchase after clicking on my links.
Supplies:
- Forest spinner template
- White cardstock paper
- Colored pencils
- Paper fastener
- Hole punch
- Pencil
- Scissors
Step by step instructions
Start by printing the spinner and cover on white cardstock paper.
Color the spinner and cover and cut them out.
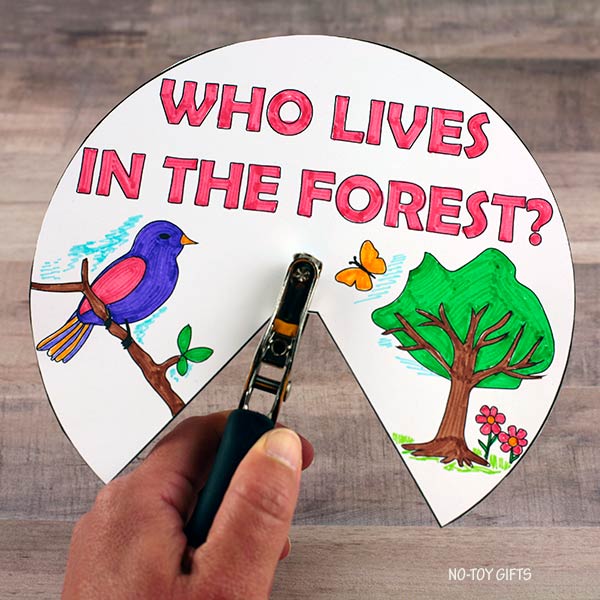
Use a hole punch to make a hole in the middle of the cover. (where marked)
Use a pencil to make a hole in the middle of the spinner. (where marked)
Attach the spinner and cover together with a paper fastener.


