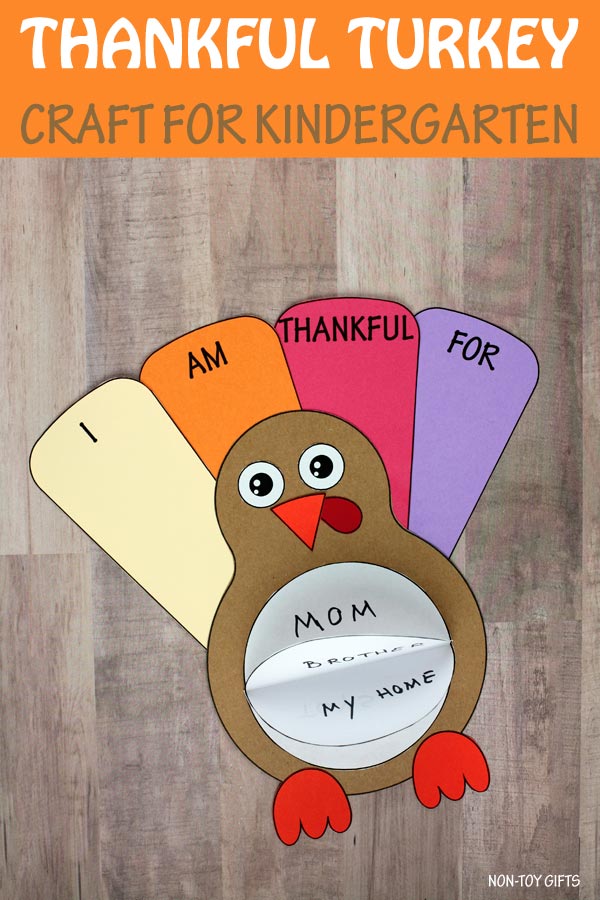
A simple paper thankful turkey craft for kindergarten to make with kids at home as a holiday family activity or in the classroom. Kindergartners can write or draw and color the things they are grateful for.
We made this thankful turkey craft last year and I wanted to add another one to our collection of Thanksgiving crafts for kids. Just like the first, this 3D turkey is easy to make.
The circles in the middle of the turkey are big enough for kids to add quite a few things they are thankful for. They also have room to draw and color, if they don’t feel too comfortable writing yet. Or they can combine writing with drawing.
The turkey comes with four feathers that have the words I AM THANKFUL FOR printed on them. The craft template also has blank feathers in case you want to write your own words or write them in a different language.
If you’re looking for more thankful craft to make with your kids, you may want to take a look at the I am thankful for spinner. This one is perfect for preschoolers and kindergartners but older kids will like it too.
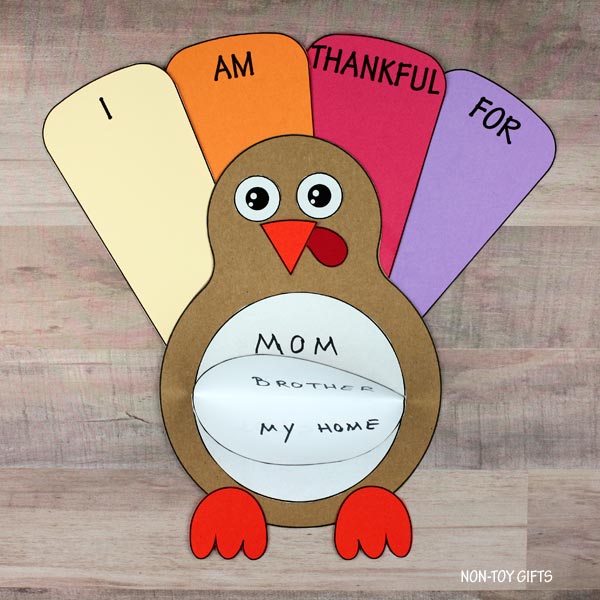
We used three circles for our turkey but feel free to print out more if needed.
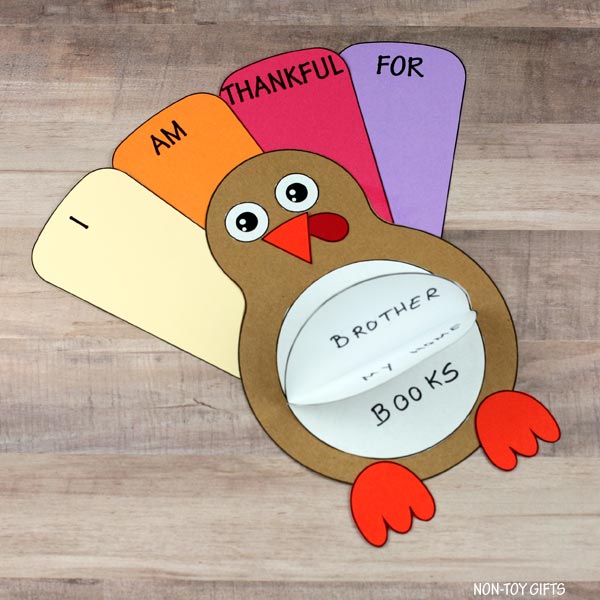
I really like the 3D look and I think this turkey would make a wonderful bulletin board display, in case you’re a teacher. And if you make this craft in the classroom, pair it with The First Thanksgiving craft to teach students about the Thanksgiving meaning and story.
3D thankful turkey craft kindergarten
This post contains affiliate links and I will be compensated if you make a purchase after clicking on my links.
Supplies:
- Thankful turkey craft template
- Cardstock paper: brown, white, red, orange and other colors of your choice
- Scissors
- Glue
- Black marker or pencil
How to make the 3D turkey
The thankful turkey template comes with two versions:
1. home template – cut out the patterns and trace them on corresponding colored paper.
2. classroom template – print the pattern directly on colored paper and cut them out.
This way you can easily craft with just one or two kids as well as with a classroom full of students.
Step by step instructions

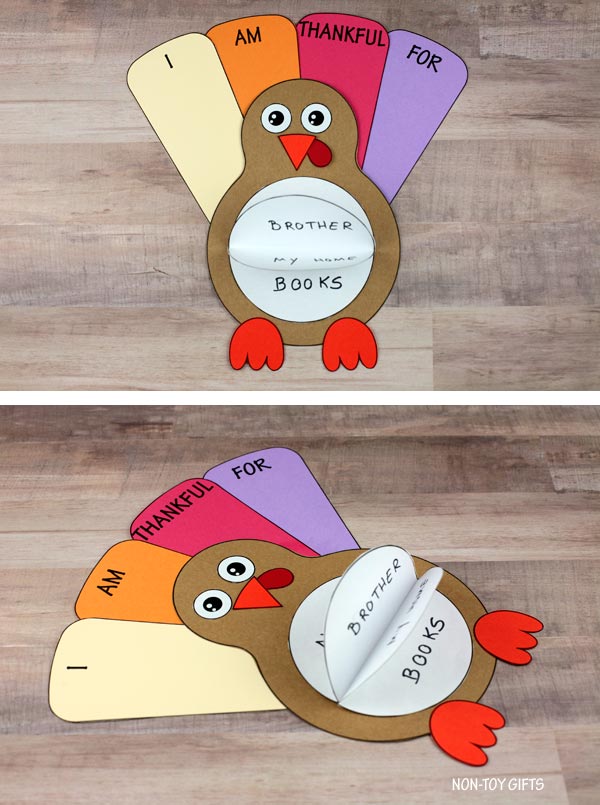
Fold three white circles in half and write on each half of each circle things you are thankful for.
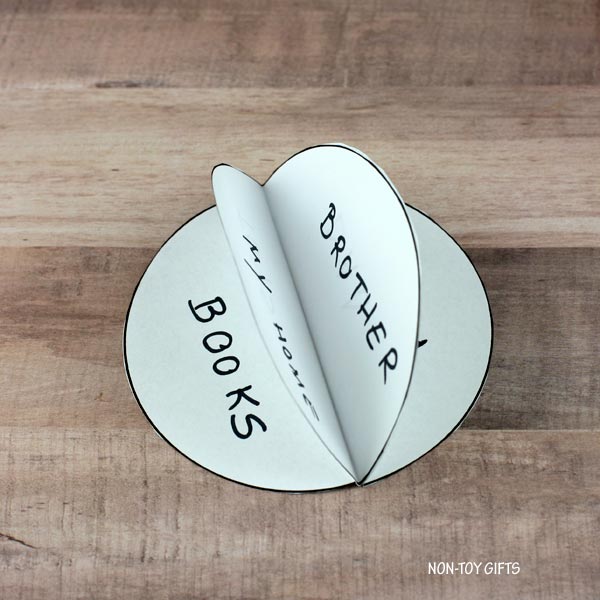
Apply glue to one of the folded halves of a circle. Attach another folded circle onto the first and align them together. Do the same with the third circle.

Glue the circles at the bottom of the turkey, onto its belly.
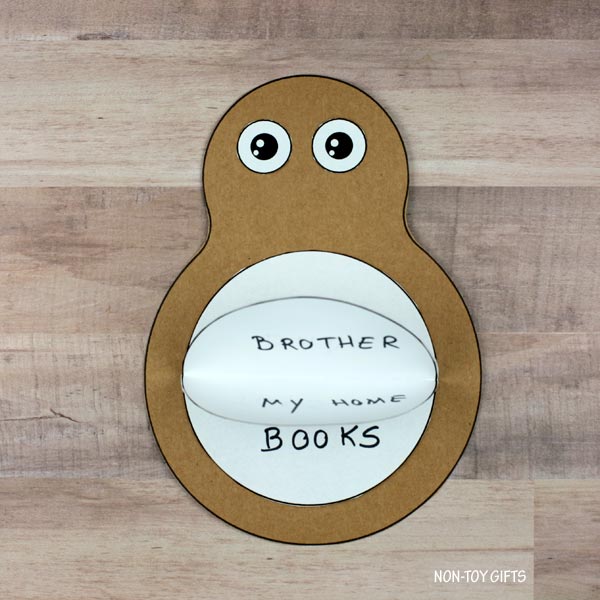
Add the two eyes at the top of the turkey, onto its head.

Glue the snood and beak together and then glue them under the eyes.
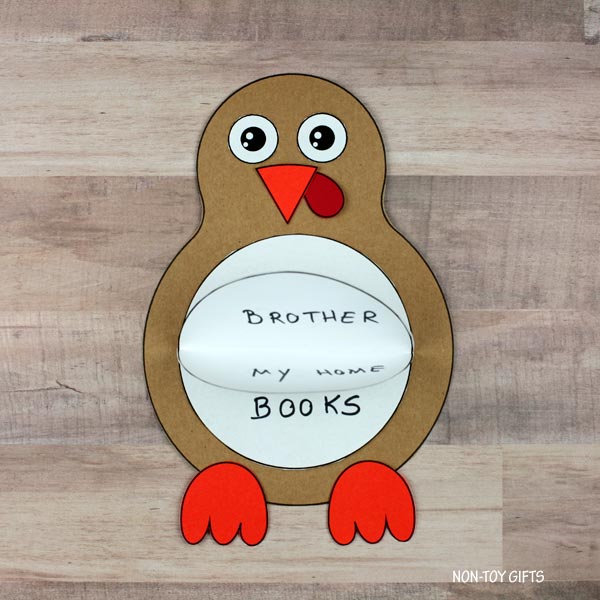
Glue the feet at the bottom of the turkey.
Add the feathers in order at the back of the turkey.