This day and night craft is an interactive craft that kids will love to play with as well as an educational craft for toddlers, preschoolers and kindergartners. You can use the happy sun and sleepy moon printable at the end of the post or you can draw your own.

Use this day and night craft in the classroom for a day and night unit lesson or at home and pair it with basic concepts, activities and more crafts.
Day and Night concepts to teach
- The Earth spins on its axes and this causes the change between day and night. It takes the Earth 24 hours to make one complete turn. When one side of the Earth faces the Sun, it is daylight. On the opposite side of the Earth it is night.
- Daytime is from sunrise to sunset.
- The Sun is a star that produces light and heat. It is the closest star to the Earth.
- The moon and stars are in the sky during the day, too but we can’t see them because the Sun brightens up the sky.
- The moon is Earth’s only natural satellite. It orbits the Earth.
- Only one side of the moon is visible from Earth.
- Venus is the brightest planet in our Solar System and you can see it at night, just a few hours after the sunset.
Day and Night activities for kids
- Go outside during the night and look at the starry sky
- Catch the sun with a suncather
- Draw shadows. Take a small table out in the sun. Place a white paper sheet onto the table and a toy on top of the paper so that the toy’s shadow falls upon the paper. Draw its shadow.
- Sun melting experiment. Take ice cubes from your freezer and place them outside in the sun. What happens with the ice? Even better: make colored ice cubes.
- DIY lantern. Glue colored tissue paper onto a jar, place a flameless tea light inside and take your lantern outside at night.
- Glow sticks and flashlight. Have fun with them at night.
More crafts for kids
- Earth crafts. Create our Earth with any of these 30+ craft ideas.
- Garden crafts. What do plants need to grow? Learn and have fun with this carrot garden craft or this veggie garden craft.
- Rainbows. Create a beautiful rainbow in the sky craft with paper plate and yarn or painted rocks.
- Rain clouds. Make cute, smiley rain clouds with this free template.
Day and night craft


This post contains affiliate links. I may receive commissions for purchases made through links in this post at no cost to you.
Supplies:
- FREE day and night template – get it at the end of the post
- Two paper plates
- Craft paint: black, white and light blue
- Paint brush
- Scissors
- Pencil
- Glue
- Hole punch
- Paper fastener
- Craft knife (optional)
How to make a day and night craft
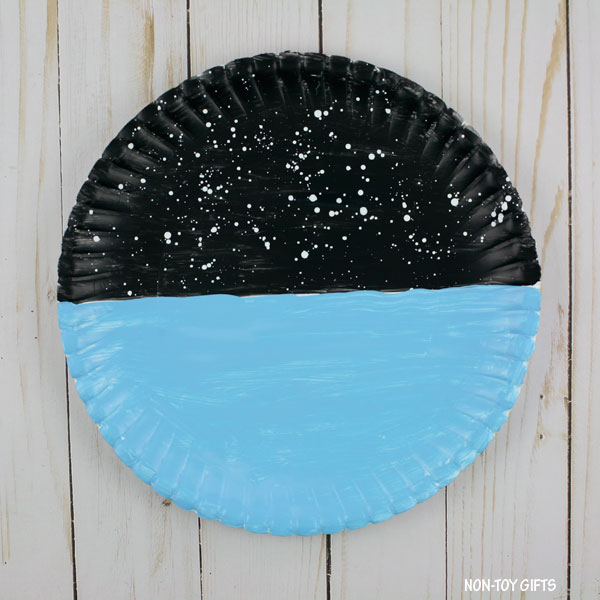
Start by tracing a line in the middle of a paper plate. Paint half of the paper plate black.


Add a few water drops to your white paint and dip the paint brush into the paint. Add the stars by placing the paint brush over the black half of the paper plate and tapping gently on the paint brush. It’s not a problem if white paint ends up on the other half of the paper plate. We will cover that half with light blue paint.


Set the night sky paper plate aside to dry completely. In the meantime, download the day and night template and cut out the moon, clouds and sun.
Paint the other half of the paper plate light blue.


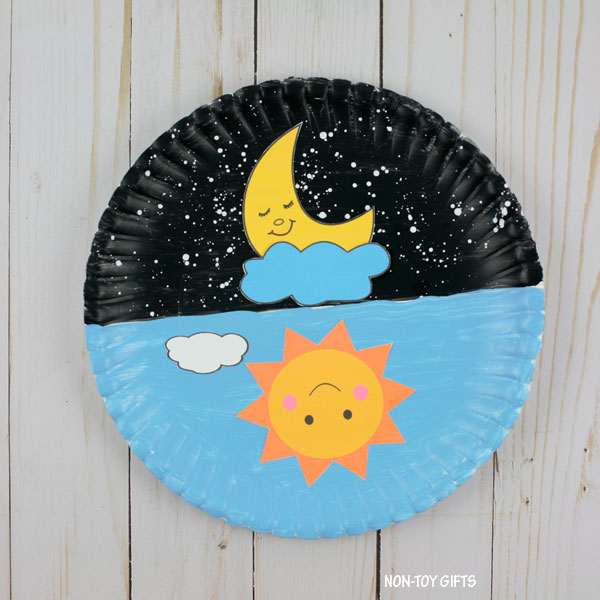
Glue the sun and white cloud onto the blue half and the moon sleeping on the cloud onto the black half. The sun and moon need to face each other.


Trace a line in the middle of the second paper plate. Use the scissors to cut out a window in one half of the paper plate, above the middle line. I find it easier to use a craft knife to cut through a paper plate but craft knifes are sharp so this is an adult only step.


Use a hole punch to make a hole in the middle of the second paper plate, along the middle line.


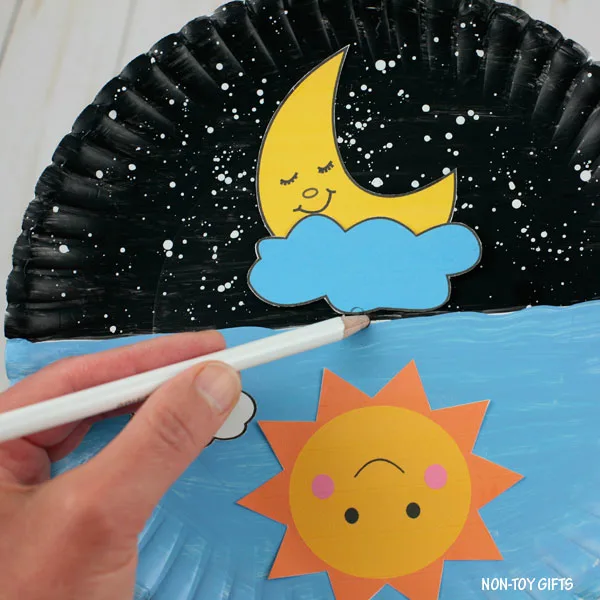
Place the second paper plate on top of the painted paper plate and use a pencil to mark through the hole the middle of the painted paper plate. Use the pencil to make a hole.



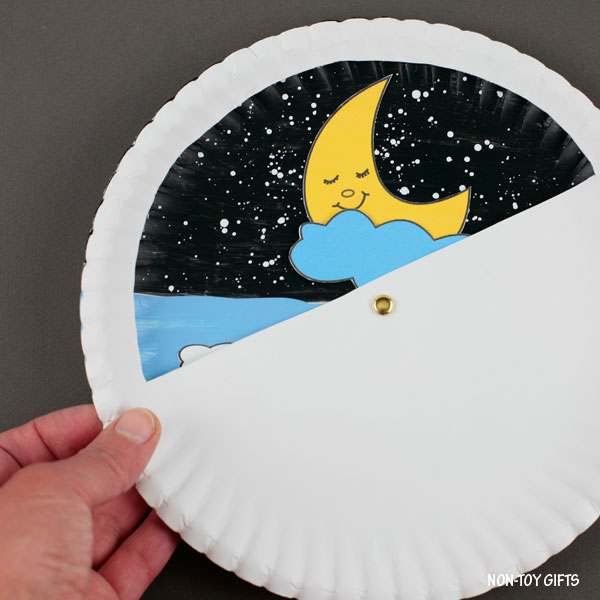
Connect the two paper plates with a paper fastener.


Make an interactive day and night craft from two paper plates. Use this educational craft to teach kids about Earth, moon, sun and our Solar System. Talk about daytime and nighttime differences and pair this craft with day and night basic concepts, activities and more crafts. As an Amazon Associate and member of other affiliate programs, I earn from qualifying purchases.


Day and night craft
Materials
Tools
Instructions
Recommended Products


