This shop has been compensated by Collective Bias, Inc. and its advertiser. All opinions are mine alone. #HugtheMess #cbias
What is one activity you do with your kids that you know will end up in a big mess but you do it anyway? Painting is ours. By the time my two little boys finish expressing their creativity with colors and brushes I know paint will end up everywhere: table, floor, clothes, hands, faces. Despite the mess, I indulge their passion for painting every time. It may be because I also love to paint.

This DIY cardboard dollhouse I made with the kids brings together painting, cutting and gluing (some of my kiddos’ favorite activities) and my love for recycling boxes. The result is a beautiful and colorful dollhouse. My boys don’t really play with dolls but dinosaurs and LEGO people need a home, too. Don’t they?
How to make a DIY cardboard dollhouse
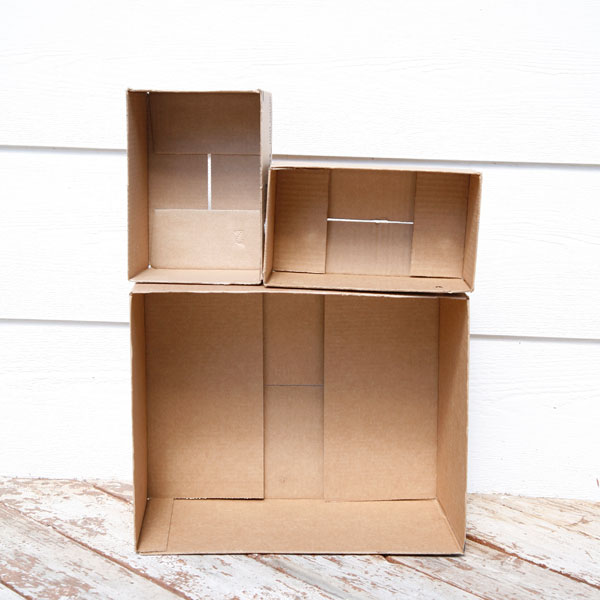
Step 1. Gather several cardboard boxes of different sizes. More boxes will make a bigger house but three is a good number.


Step 2. Cut out the flips.


Step 3. Paint the inside of the boxes, each box in a different color.


Step 4. Wait for the paint to dry. I used this time to clean up the paint on the table and on my kids’ hands. It was such a beautiful day when we made the dollhouse so we took our project outside, on the deck. Besides the boxes, paint and brushes, we also had our Huggies wipes on the table with us. I never start an art activity with the boys without having wipes at arm’s reach. Huggies One & Done has a thick texture which makes it great for cleaning up the mess on tables or floors, while Huggies Simply Clean is perfect for hands and faces.


Step 5. Decorate the dollhouse with cutouts from magazines.
You can glue the boxes together but I like how you can create a different look just by stacking the boxes differently.


Next time you’re at Walmart make sure to visit the personal care aisle and grab some Huggies wipes for your messy activities with kids.
