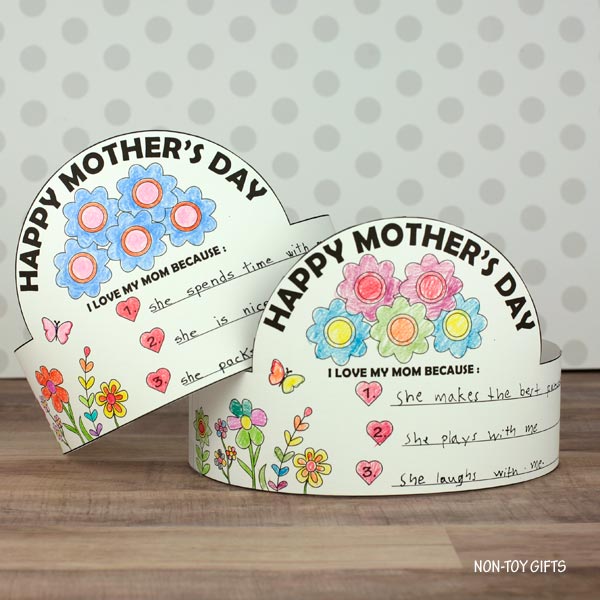
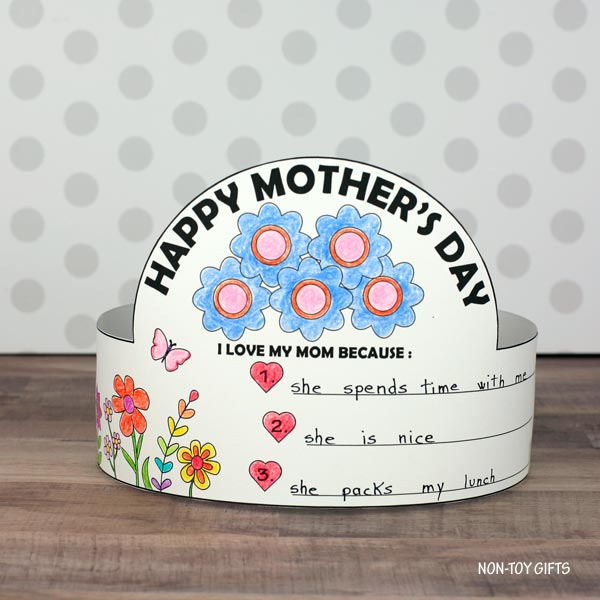
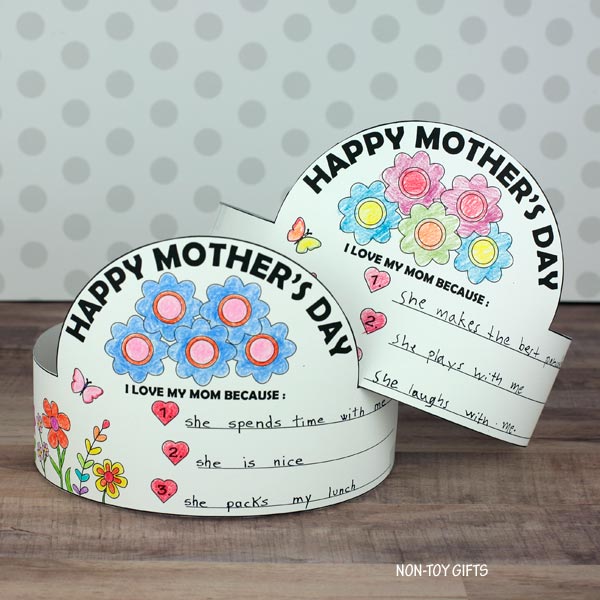
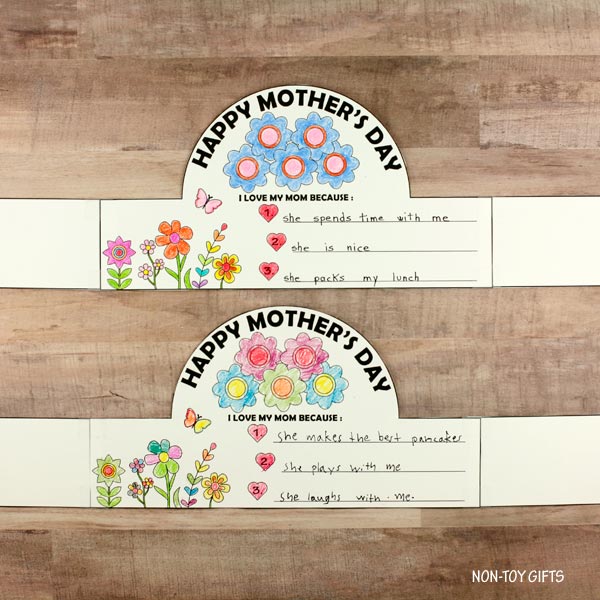
As Mother’s Day approaches, you might be looking for a fun and easy craft to do with your students or children at home. Look no further than our “I Love My Mom” headband – a simple but fun paper hat that kids of all ages can make and wear proudly.
Our template comes with inclusive options for different types of moms, including mom, mum, grandma, auntie, stepmom, and stepmum. The template also includes primary and single lined paper options, making it suitable for students of different writing levels, whether you are using it in the classroom or at home.
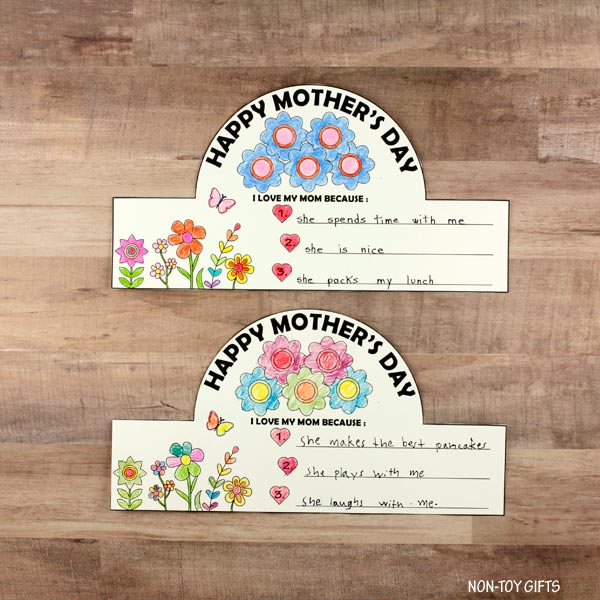
Once you have the Mother’s Day paper hat template printed out, it’s time for students to get creative! They can color in the flowers, hearts, and butterflies, and write down three reasons why they love their mom. This is a great opportunity for students to express their feelings and appreciation for their mothers.
Our “I Love My Mom” headband is perfect for preschoolers and older students, making it a great activity for teachers who want to celebrate Mother’s Day in their classroom. Not only is it fun and easy to make, but it also encourages students to reflect on the important role their mothers play in their lives.
More crafts for kids:
If you’re looking for some fun crafts for the classroom or home, consider adding the “I Love My Mom” coloring crown to your list of Mother’s Day activities. This is a simple and heartfelt craft that your students will love making and wearing to show their appreciation for the amazing women in their lives.
I Love My Mom Headband
This post contains affiliate links. I may receive commissions for purchases made through links in this post at no cost to you.
Supplies:
- Mother’s Day headband template
- 65lb white cardstock paper
- Colored pencils – my favorite
- Scissors
- Tape
- Black marker
How to make a Mother’s Day Paper Hat
Print the headband on white paper.
Color the front piece.
Use a black marker to write 3 reasons you love your mom.
Tape two side panels to the front piece.
Bend the headband into a circle. Wrap it around the kid’s head to check for fit. Tape the ends together.


