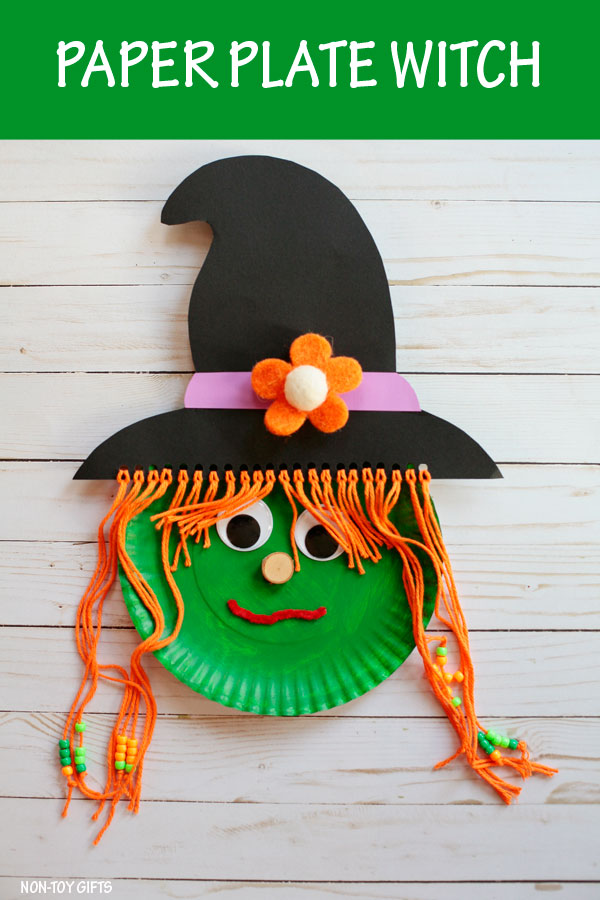
Halloween with kids isn’t complete without a witch craft. This paper plate witch craft is versatile, leaving room to creativity and allowing you to replace the given materials with other craft supplies you may have at hand.
We’re on a mission to create non-scary Halloween crafts for young kids.
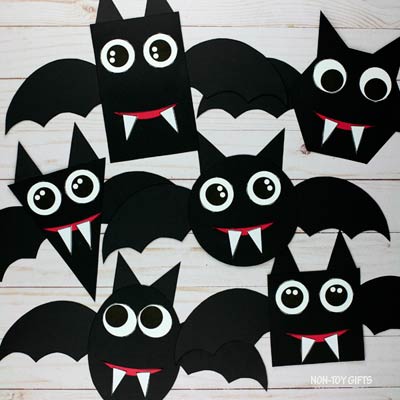
So far we made a paper bag silly vampire and a cute paper plate vampire who needs a haircut.
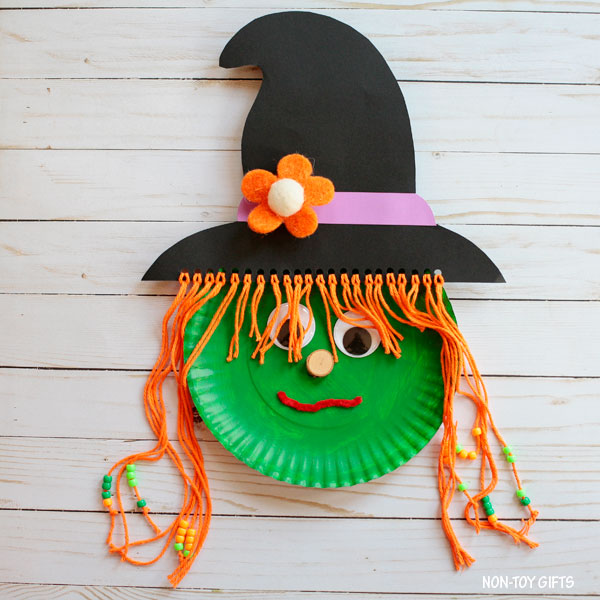
This paper plate witch craft follows the same pattern. It’s a funny, non-spooky witch, with beads in her hair and a flower hat. Nothing scary about that, right?

If you’re looking for paper plate Halloween crafts for preschoolers or older kids, look no further. This witch paper plate craft isn’t only simple (check out our entire collection of easy crafts for kids) but it will also help kids practice their fine motor skills by attaching the yarn hair to the witch hat.
Threading beads in the witch’s hair is totally optional but it sure adds a nice touch.


We love using paper plates and though our Halloween craft collection doesn’t have too many paper plate ideas, we have created almost 100 paper plate crafts so far.
Paper plate witch variations
- We used a small wood slice for the nose but you can make a nose out of paper
- Choose glow in the dark googly eyes for a more spooky look
- Use a red marker to draw the mouth
- Glue the yarn hair onto the witch hat instead of threading it through the holes in the hat. In this can you can make a witch hat out of construction paper. Our hat is from cardstock paper as we needed a sturdy hat for the yarn hair.

Here are more of our favorite Halloween crafts for kids:


Witch Craft
Now, let’s grab a paper plate and turn it into a cute witch craft for kids.


This post contains affiliate links. I may receive commissions for purchases made through links in this post at no cost to you.
Supplies:
- paper plate
- green acrylic paint
- paint brush
- big googly eyes
- small wood slice
- red pipe cleaner
- glue
- cardstock paper : black and purple
- hole punch
- orange yarn
- pony beads
- scissors
How to Make a Witch Paper Plate Craft


Step 1: Start by painting the paper plate green and let it dry completely. If you want to skip this step, you can start with a green paper plate. This is particularly a good idea if you plan on making the witch in the classroom with your students, and want a mess-free Halloween craft.
Step 2: Glue the googly eyes and the nose onto the paper plate. We used a small wood slice for the nose but a cork stopper can also work very well. You can paint the nose green or leave its natural color.
Also you can make a nose out of paper.
Step 3: Cut part of a red pipe cleaner and glue it at the bottom of the paper plate. This will be the witch’s mouth. As an alternative you can use a red or black marker to draw the mouth.
Step 4: Draw a hat on black construction paper and cut it out. Add a hat band made out of purple paper. Use hole punch to make a row of holes at the bottom end of the brim.


Step 5: Cut strands of 2 different sizes from the orange yarn (short for the bangs and longer for the sides) and thread them through the holes.
Step 6: Thread beads on some of the orange yarn or all of them (It’s up to you). You can also add a flower to the hat.


Paper Plate Witch Craft For Kids
Make a fun paper plate witch craft for kids with a cute witch hat and colorful beads in her yarn hair.
Materials
- paper plate
- green acrylic paint
- big googly eyes
- small wood slice
- red pipe cleaner
- glue
- cardstock paper : black and purple
- orange yarn
- pony beads
Tools
- paint brush
- hole punch
- scissors
Instructions
- Start by painting the paper plate green and let it dry completely. If you want to skip this step, you can start with a green paper plate. This is particularly a good idea if you plan on making the witch in the classroom with your students, and want a mess-free Halloween craft.
- Glue the googly eyes and the nose onto the paper plate. We used a small wood slice for the nose but a cork stopper can also work very well. You can paint the nose green or leave its natural color. Also you can make a nose out of paper.
- Cut part of a red pipe cleaner and glue it at the bottom of the paper plate. This will be the witch's mouth. As an alternative you can use a red or black marker to draw the mouth.
- Draw a hat on black construction paper and cut it out. Add a hat band made out of purple paper. Use hole punch to make a row of holes at the bottom end of the brim.
- Cut strands of 2 different sizes from the orange yarn (short for the bangs and longer for the sides) and thread them through the holes.
- Thread beads on some of the orange yarn or all of them (It's up to you). You can also add a flower to the hat.
Recommended Products
As an Amazon Associate and member of other affiliate programs, I earn from qualifying purchases.


Anne
Wednesday 11th of October 2017
I would like to have craft work for 2 years to 3 that they can make