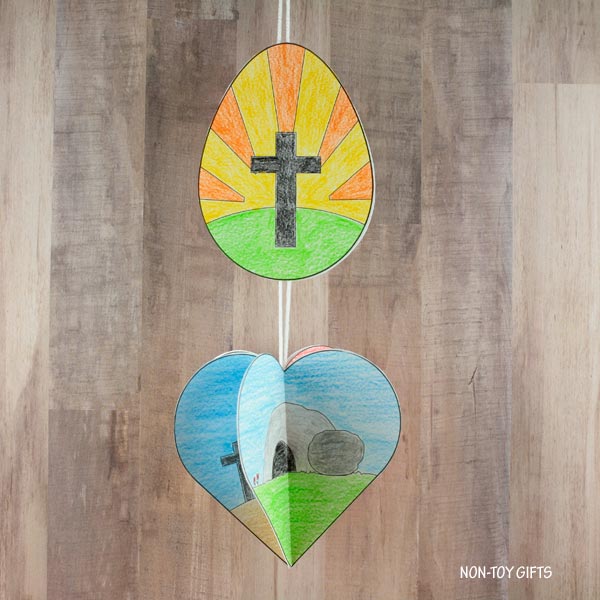
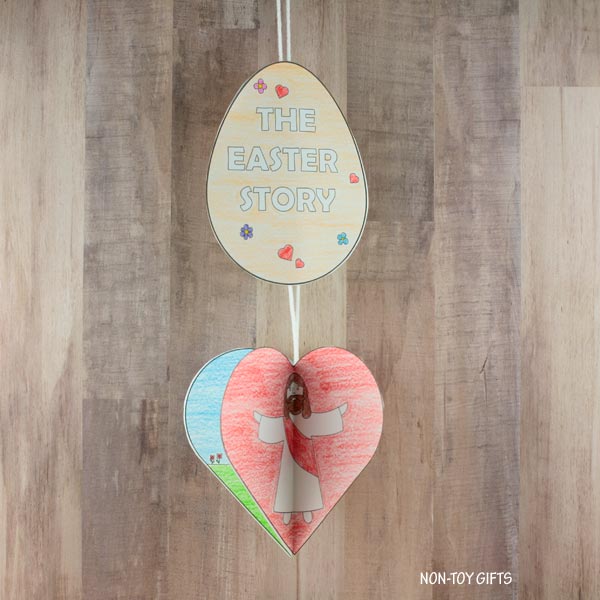
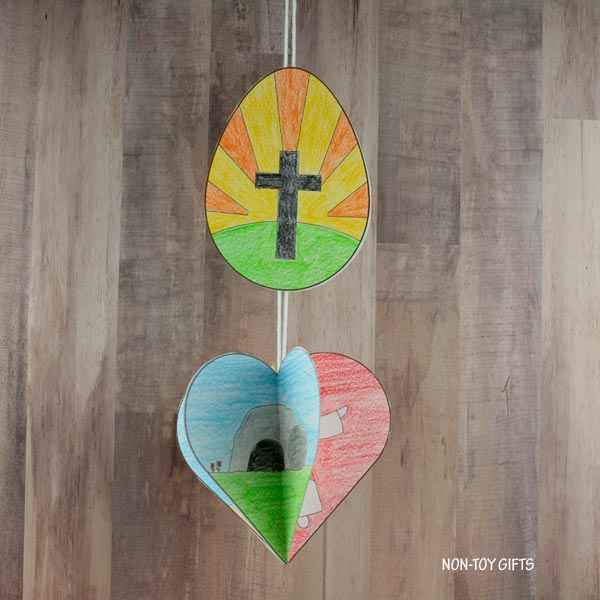
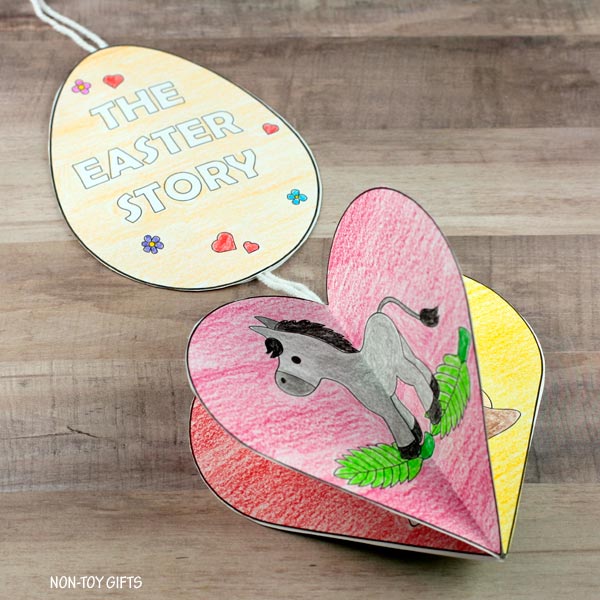
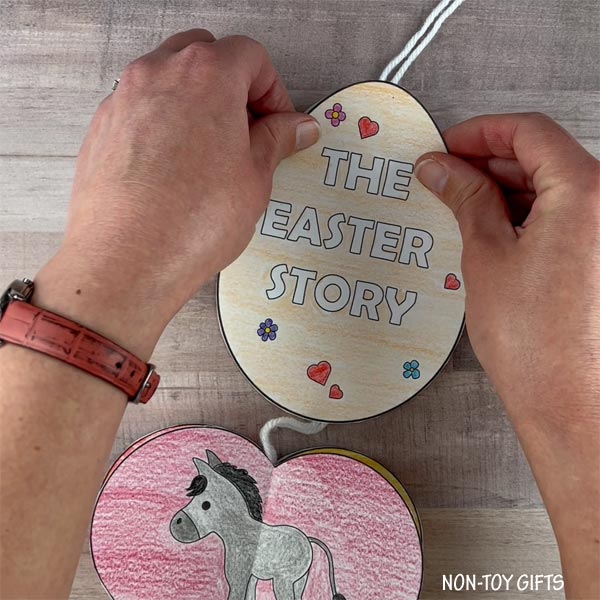
If you have a child, especially a preschooler, ready to learn about the resurrection story then the Easter story decoration is right for you! This fun craft requires no prep work, is easy to color, and is great to practice fine motor skills.
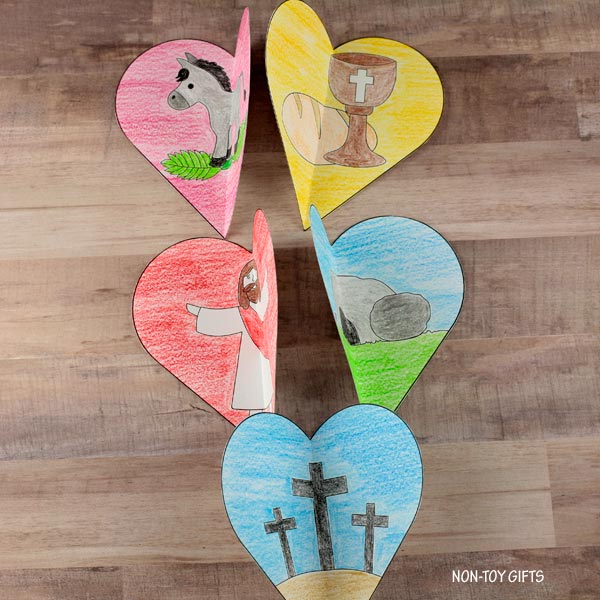
As your child colors, this is a great time to provide a narrative about the Easter story. You can color each part in order, starting with the donkey. Here, you can talk about Jesus coming into Jerusalem, riding on a donkey, with everyone happy that he was there.
Next, the crosses. You can say that the people became angry at Jesus even though he did nothing wrong. Jesus loved everyone and knew that he would die for them–even the mean people that wanted him to die! Jesus chose to give up his life so that everyone, even the bad people, would be able to have forgiveness and feel God’s love.
As they color the tomb, chat about how Jesus was dead for three days! His friends and family were sad that he was gone and scared, too.
Next, color all the segments that have to do with the resurrection and ascension. Jesus became alive again on the third day! He told his friends that he loved them and would send them help to keep believing in him. Jesus went into the sky as he left and he is going to come back again someday!
Finish by coloring any portion, like The Easter story egg, that has yet to be completed. Next, cut out all the segments. If your child is old enough, let them help with this task. Then, you will fold each heart and glue them together. This is a great step for kids of all ages, even little ones.
SAVE WITH BUNDLES
This craft is part of an awesome Easter bundle. Make sure to check it out.
Finally, glue the string on and The Easter story decoration is complete! Your child will love how the hearts twirl, displaying each portion of the narrative. Make sure to hang this somewhere they can see their work as a reminder of God’s special gift!
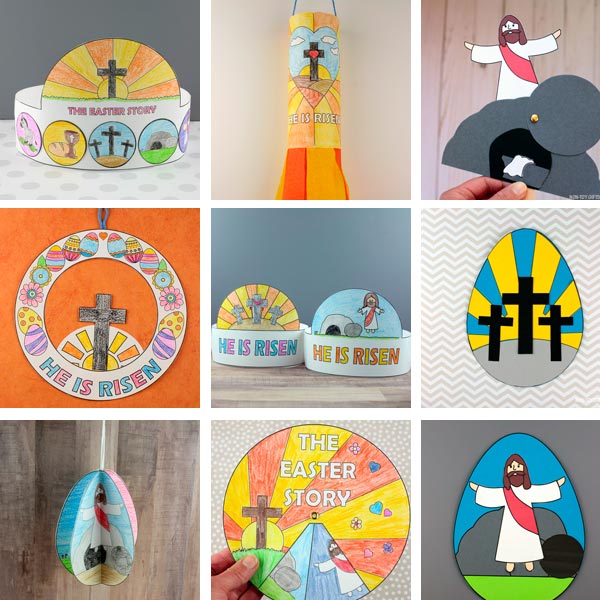
MORE EASTER RELIGIOUS CRAFTS:
The Easter Story Decoration
This post contains affiliate links and I will be compensated if you make a purchase after clicking on my links.
Supplies:
- The Easter Story craft template
- White cardstock paper
- Colored pencils – my favorite
- Scissors
- Glue
- Yarn
- Tape
The template comes with two size hearts, the bigger size is for younger kids and the smaller size is for older kids. Choose the size that works better for your kids.
Step by step instructions
Start by printing the template on white paper, color the hearts and eggs and cut them out.
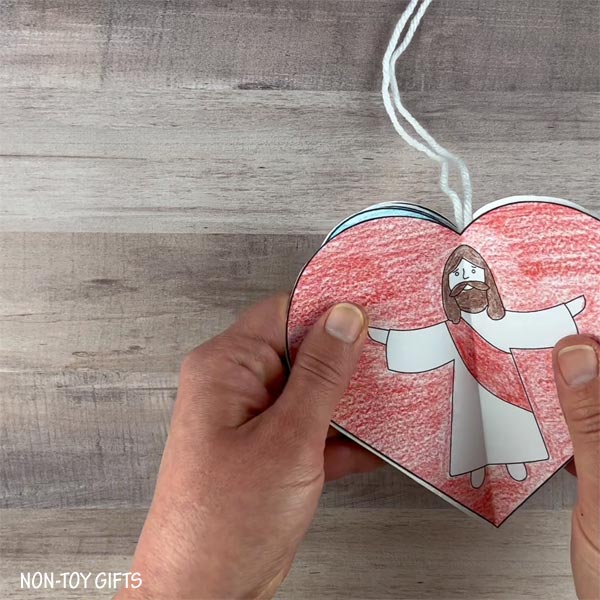
Fold all five hearts in half.
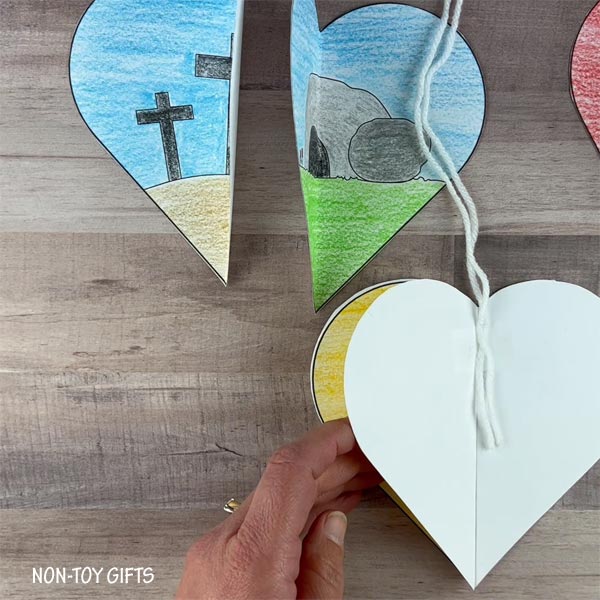
Glue the first two hearts back-to-back making sure to align them.
Cut a strand of yarn, fold it in half and tape it to the back of the first two hearts that are glued together.
Continue gluing the rest of the hearts back-to-back in the correct order.
Finish with the last heart.
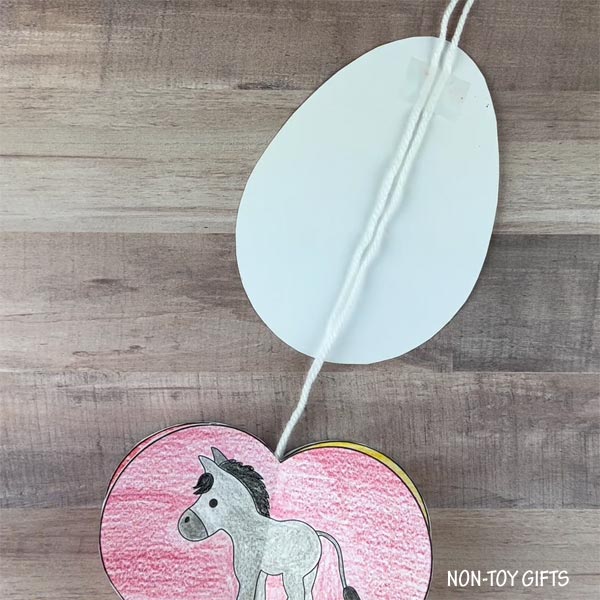
Place one of the eggs along the string, above the hearts, face down.
Make sure the string is right in the middle of the egg and tape it in place at the top of the egg and the bottom.
Apply glue to the back of the egg.
Place the second egg on top of the first egg.


