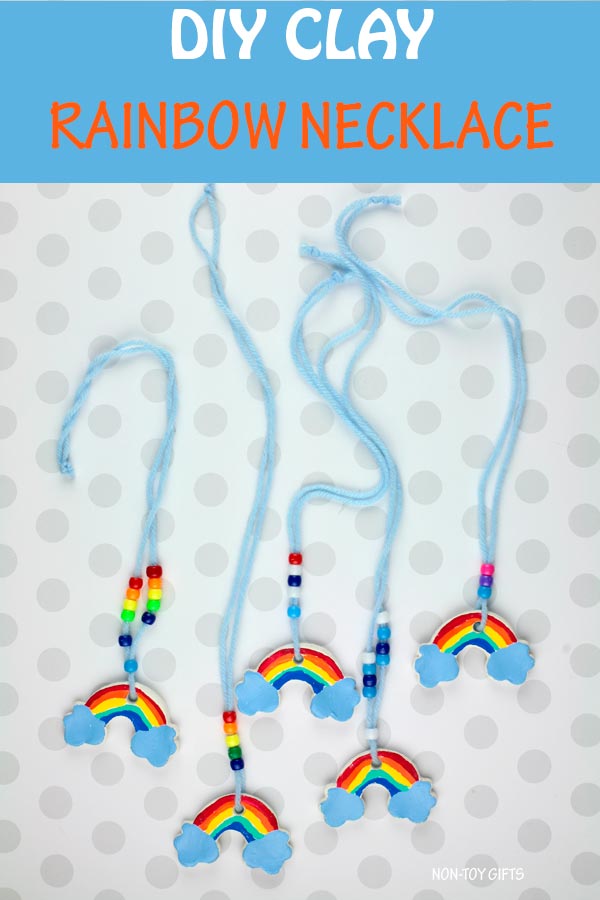
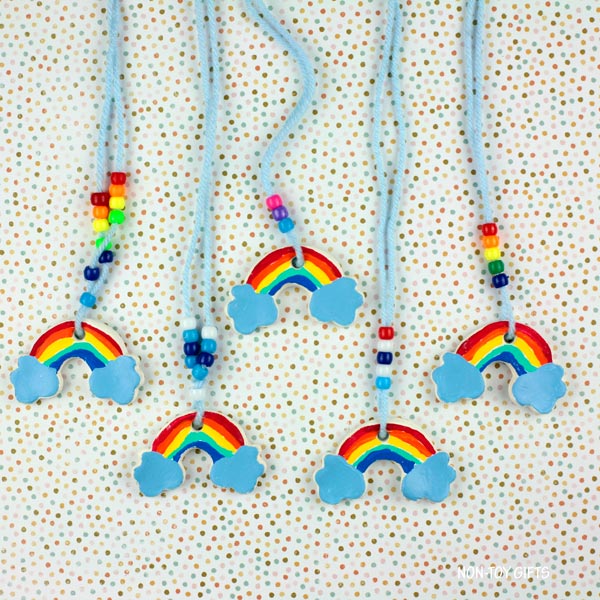
This DIY clay rainbow necklace is a fun accessory to make with kids for a rainbow party or St. Patrick’s Day. It goes with any outfit and will brighten up your day.
With St Patrick just around the corner, all we can think about is rainbows, shamrocks and leprechauns. Make sure to take a look at this impressive collection of 75+ St Patrick’s Day crafts for kids.
RELATED: This paper plate rainbow craft for kids is so beautiful!
But this rainbow necklace can be made and used on any day of the year.
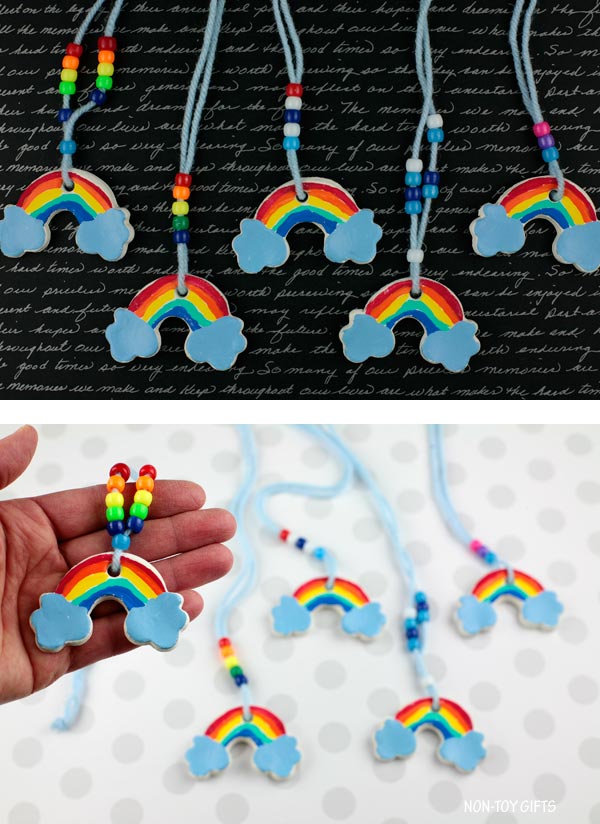
Wear it to a rainbow party or make a bunch to hand out as party favors.
Kids can make them for mom or grandma, pair them with a beautiful DIY flower card or a DIY handprint card and have them ready for Mother’s Day.
I know that many parents prefer homemade salt dough for their crafts and while I have used it in the past too, my number one choice remains clay.
Salt dough may be softer to handle but clay is more durable and won’t break so easily. I recommend using clay for jewelry or handprint crafts and ornaments.
What does a rainbow necklace symbolize?
While the rainbow holds a lot of symbols in different traditions , it is mostly associated with the meaning of a new beginning, a new life and hope.
It is seen as a bridge connecting the sky and earth, creating a peaceful union between the two.
This post contains affiliate links and I will be compensated if you make a purchase after clicking on my links.
How to make the rainbow shape?
I used a rainbow cookie cutter I bought a long time ago from a grocery store. This cookie cutter is bigger than the one I used and this makes it even better. It will be easier to get the clay out of the cookie cutter.
Tips on using the cookie cutter
I recommend dipping the cookie cutter in water before pressing it onto the clay. This way, the clay will slide out easier from the cutter edges.
DIY clay rainbow necklace
Supplies:
- air dry clay
- rainbow cookie cutter
- rolling pin
- rainbow paint: red, orange, yellow, green, light blue and dark blue
- thin paintbrush
- paper straw
- parchment paper
- yarn
- plastic beads
Tip: Make sure to use parchment paper when rolling out the clay. This way not only the clay won’t stick to the table but it will also be easy for you to transfer it to another area to let it dry for 24 hours.
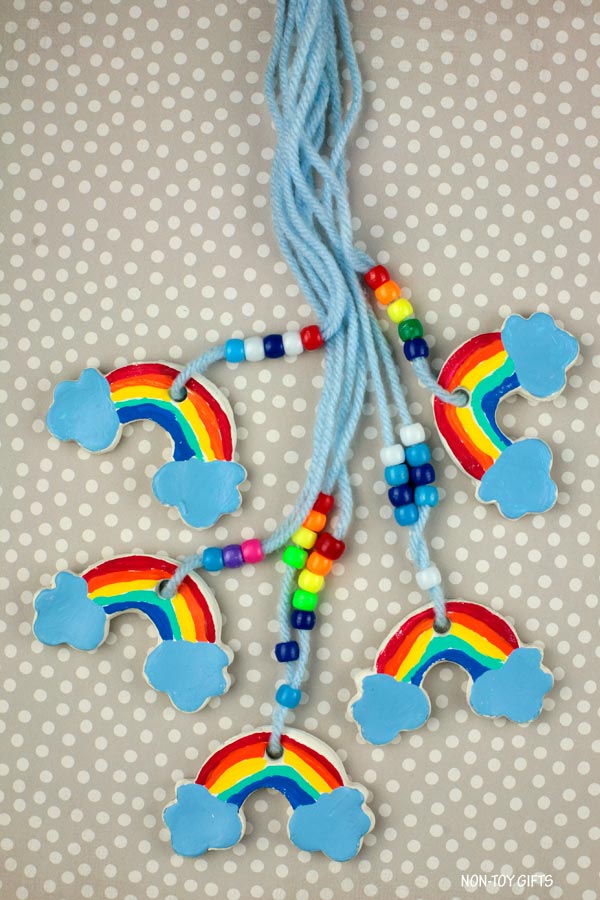
How to make a rainbow necklace
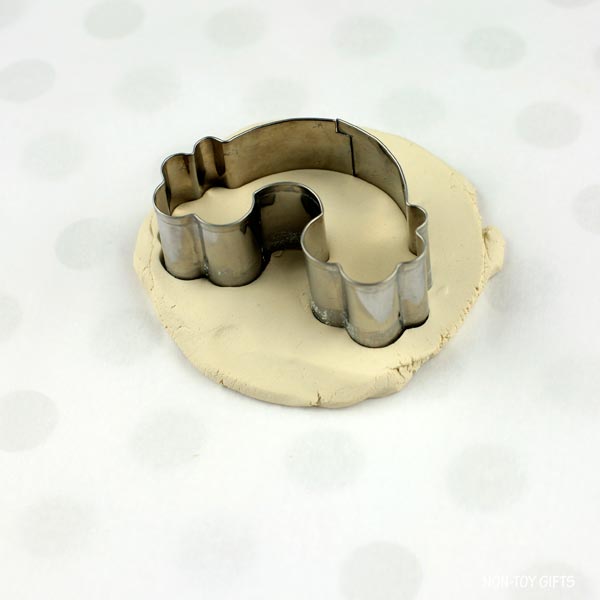
Roll the clay out on parchment paper until it’s somewhere between 1/4″ and 1/2″ thick.
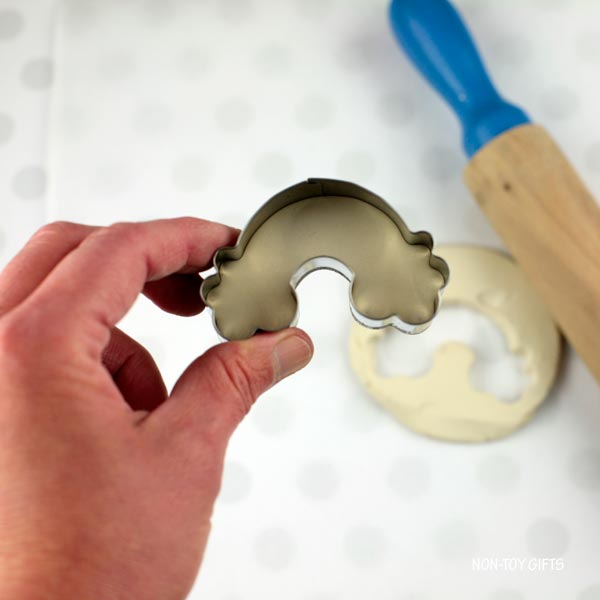
Press the rainbow cookie cutter onto the clay. Pull up the cookie cutter and if the clay is stuck to it, use your finger to gently press it out of the cutter.
Smooth out the edges of the rainbow with your fingers and a little bit of water, if necessary.
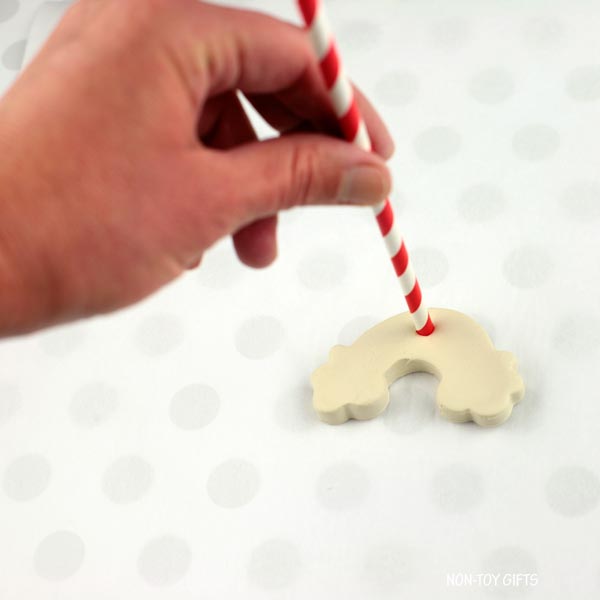
Use a drinking straw to punch a hole at the top of the rainbow.
Transfer the clay to a dry area. Let it stand for 24 hours until it is dry to the touch.
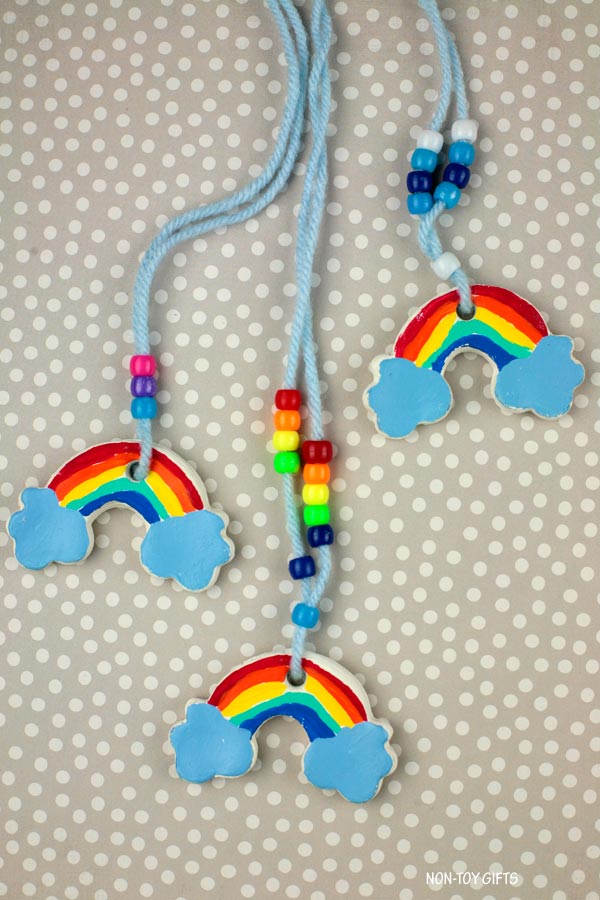
Use a thin paintbrush to paint the rainbow and set it aside to dry completely.
Cut out a strand of yarn and thread it through the whole in the necklace.
You can add plastic beads before tying up the yarn.


DIY Clay Rainbow Necklace
Make a beautiful DIY clay rainbow necklace with your kids for St Patricks' Day.
Materials
- air dry clay
- rainbow cookie cutter
- rainbow paint: red, orange, yellow, green, light blue and dark blue
- paper straw
- parchment paper
- yarn
- plastic beads
Tools
- rolling pin
- thin paintbrush
Instructions
1. Roll the clay out on parchment paper until it’s somewhere between 1/4" and 1/2" thick.
2. Press the rainbow cookie cutter onto the clay. Pull up the cookie cutter and if the clay is stuck to it, use your finger to gently press it out of the cutter.
3. Smooth out the edges of the rainbow with your fingers and a little bit of water, if necessary.
4. Use a drinking straw to punch a hole at the top of the rainbow.
5. Transfer the clay to a dry area. Let it stand for 24 hours until it is dry to the touch.
6. Use a thin paintbrush to paint the rainbow and set it aside to dry completely.
7. Cut out a strand of yarn and thread it through the whole in the necklace.
8. You can add plastic beads before tying up the yarn.
Notes
Tip: Make sure to use parchment paper when rolling out the clay. This way not only the clay won’t stick to the table but it will also be easy for you to transfer it to another area to let it dry for 24 hours.