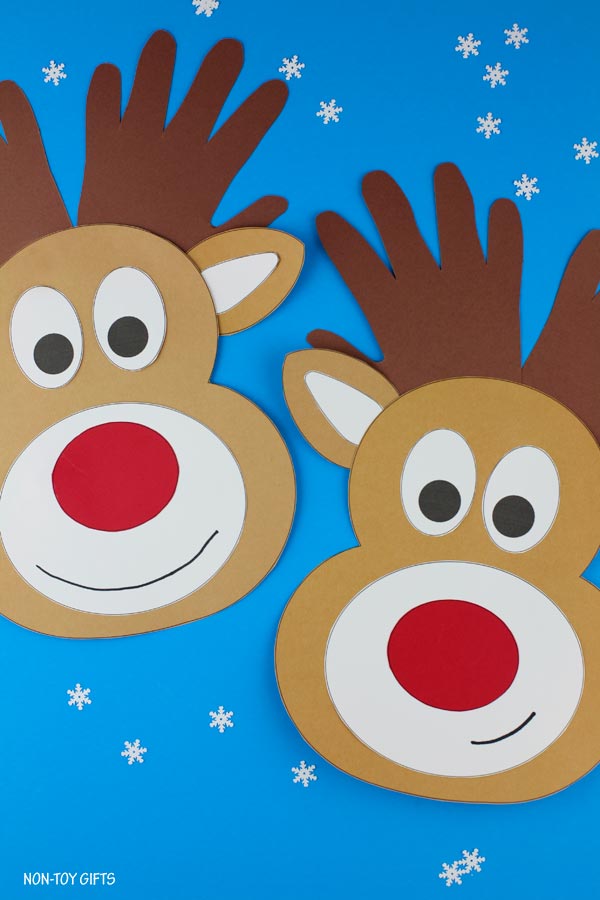
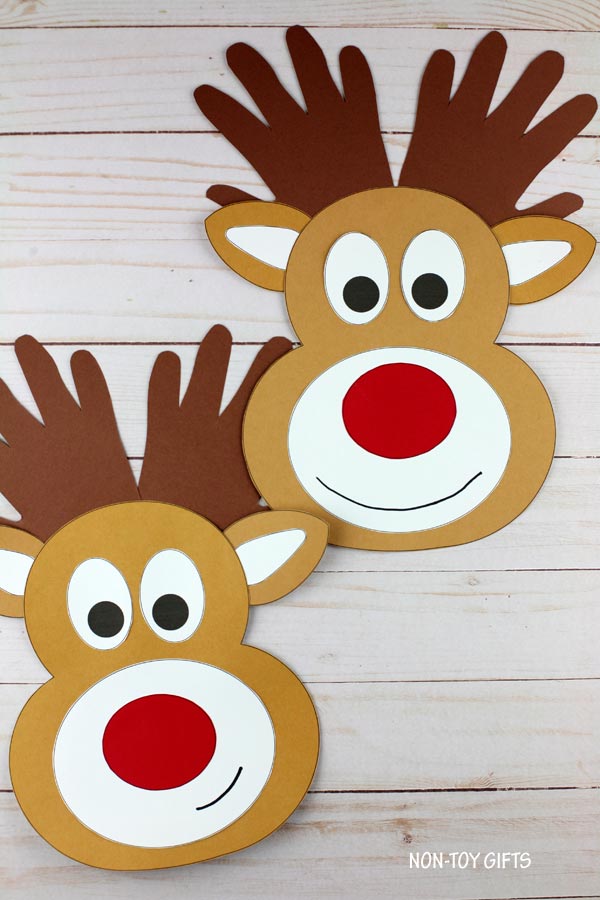
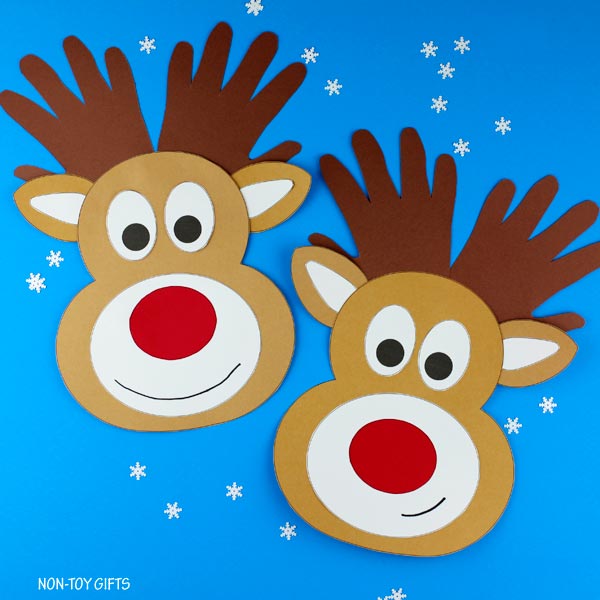
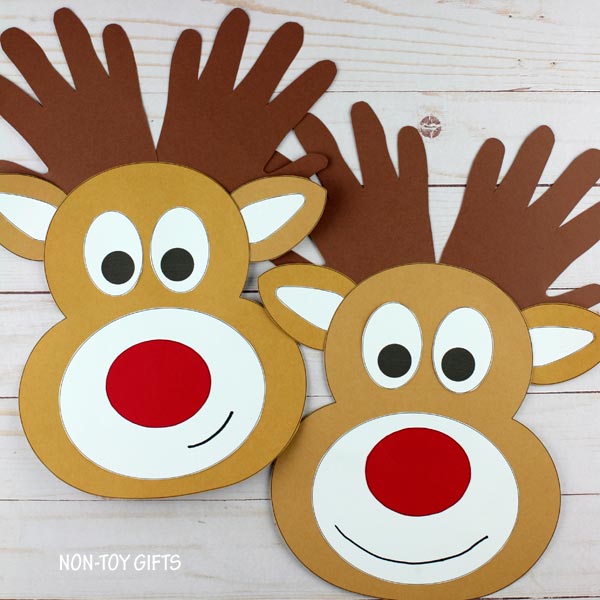
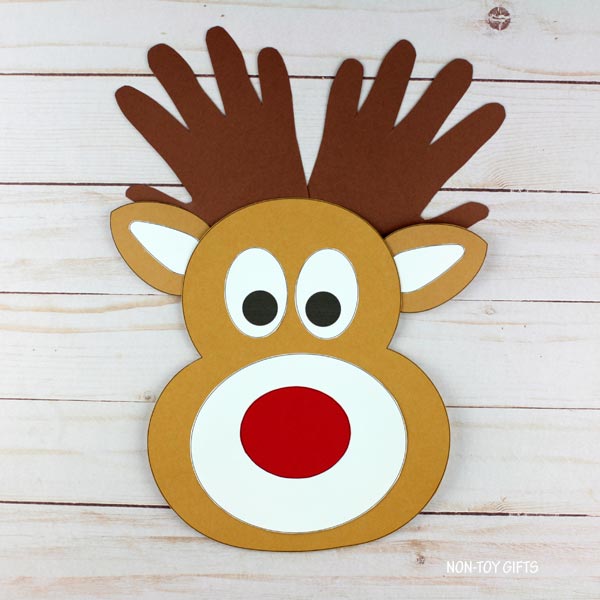
Let’s make an easy handprint reindeer craft this Christmas and give Rudolf a couple of handprint antlers – the best ones!
Christmas crafting with kids should include at least one reindeer craft. This handprint reindeer is very simple to create and this makes it perfect for preschoolers, kindergartners and older kids.
It comes with a printable template that can be used at home or in the classroom.
We have created several reindeer throughout the years, from this popular paper reindeer to this paper plate reindeer unicorn.
Christmas crafts are a favorite for kids as well as adults. Make some time this holiday to craft along with your kids and you will create beautiful family memories. The ones you will cherish forever.
My boys are older now and prefer to spend time outside with their friends instead of their mom, so crafting with them isn’t as easy as it used to be when they were young. But I still manage to gather the entire family (yes, including my husband) around the table and do some Christmas crafts.
Handprint crafts are especially sweet and if you’re looking for more ideas, make sure to take a look at these handprint Christmas crafts or these handprint Christmas ornaments for kids.
Fun facts about reindeer
Before we proceed to the craft instructions, let’s see a few fascinating facts about reindeer:
- Reindeer is also known under the name of caribou in North America.
- Both males and females grow antlers. This is interesting because in most deer species it’s only the males that have antlers.
- Antlers fall off and grow back larger each year.
- Their nose is completely covered with hair and its role is to warm the air before it gets to the reindeer’s lungs.
Handprint reindeer craft
This post contains affiliate links and I will be compensated if you make a purchase after clicking on my links.
Supplies:
- Handprint reindeer template
- Cardstock paper: light brown, white and red
- Dark brown construction paper
- Scissors
- Glue
- Pencil
- Black marker
How to make a handprint reindeer craft
The reindeer template comes with two versions:
1. Option 1: print directly on colored paper
2. Option 2: trace patterns on colored paper
This way you can easily craft with just one or two kids as well as with a classroom full of students.
Step by step instructions
Fold a dark brown paper in half, trace the kid’s handprint on one side and cut them out.
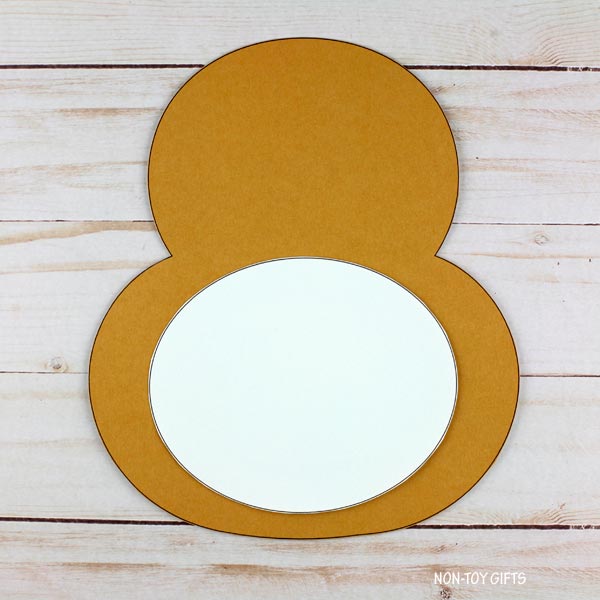
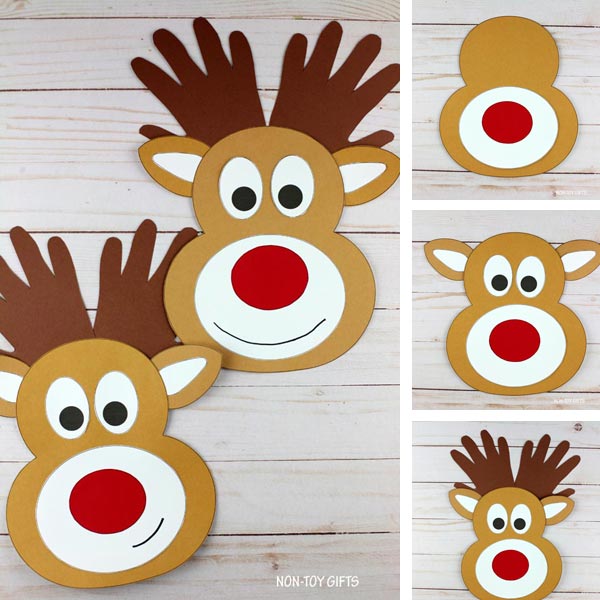
Glue the white muzzle at the bottom of the head.
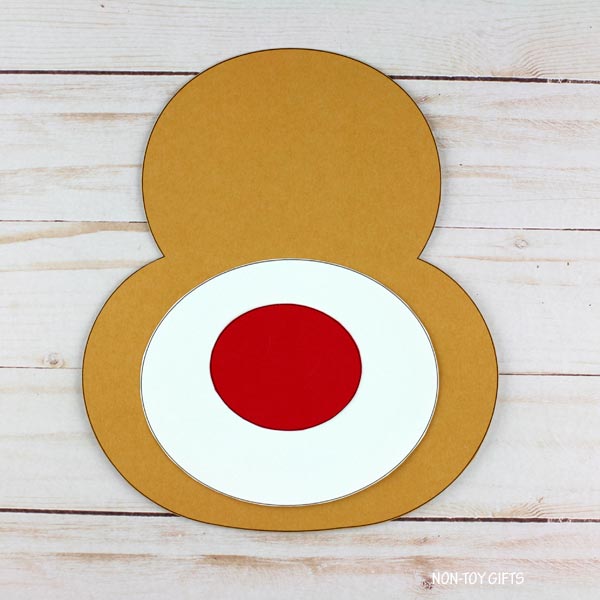
Glue the nose onto the muzzle. (TIP: Don’t glue too close to the lower edge of the muzzle so you have room for the mouth.)
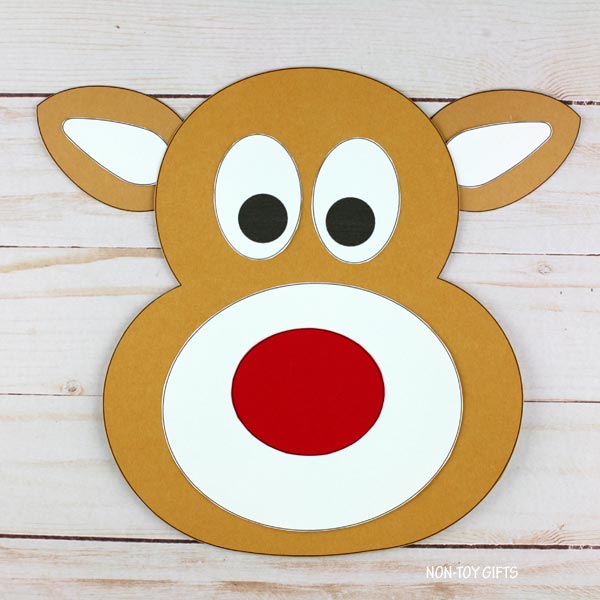
Glue the eyes above the muzzle.
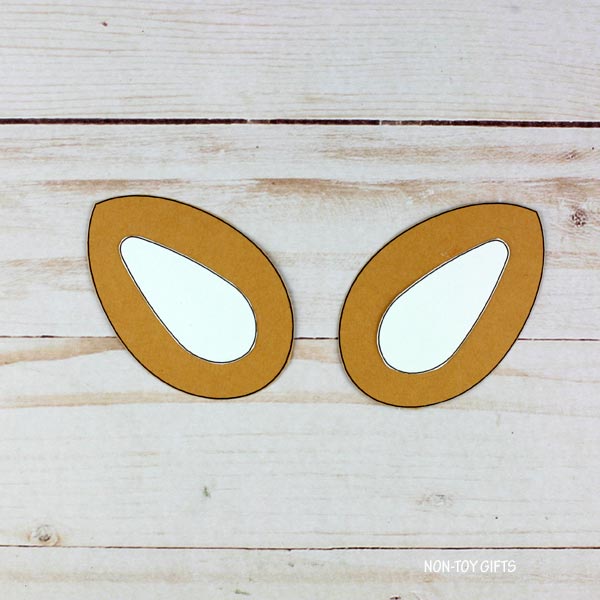
Glue the white ear details in the middle of the ears.
Add the ears to the back of the head, one on each side.
Glue the handprints at the top of the head, between the ears.
Use a black marker to draw the mouth.


