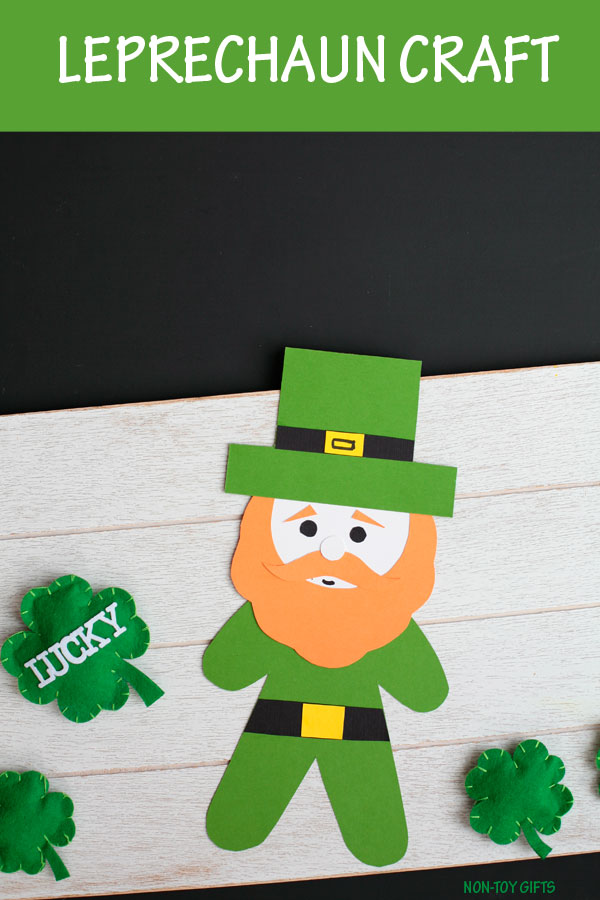
This paper leprechaun craft is perfect for kids to make for St Patrick’s Day. It comes with a template, so all you have to do is print, cut and glue. It’s an easy craft to make in the classroom or at home. While, at school, the leprechaun will make a nice classroom decoration, at home, the craft can be turned into a puppet and kids can play with it.

If you’re looking for more St Patrick’s Day craft ideas, here are 75+ leprechaun, rainbow and shamrock crafts.


Paper leprechaun craft

This post contains affiliate links. I may receive commissions for purchases made through links in this post at no cost to you.
Supplies:
- Leprechaun template
- Construction paper: green, black, orange, yellow and white
- Black marker
- Scissors
- Glue

How to make the paper leprechaun craft
The leprechaun template comes with two versions:
Option 1 – print the pattern directly on colored paper and cut them out.
Option 2- print the template, cut out the patterns and trace them on corresponding paper.
This way you can easily craft with just one or two kids as well as with a classroom full of students.
Step by step instructions
Print the template. Cut out the patterns and trace them on construction paper.


To make the paper leprechaun craft you will need 1 white face, 1 green body, 1 black belt, 1 yellow buckle, 1 orange beard, 1 orange mustache, 2 orange eyebrows, 1 white nose, 2 black eyes, 1 green hat, 1 black hat band, 1 yellow hat buckle.


Start by gluing the black band onto the hat.


Glue the yellow buckle in the middle of the hat band. Draw a black rectangle in the middle of the buckle.


Add the orange beard onto the face.


Glue the mustache above the beard.


Add the nose on top of the mustache.


Glue the hat on top of the head.


Glue the eyes above the nose.


The eyebrows go above the eyes, one on each side.


Glue the black belt in the middle of the green body.


Glue the yellow buckle in the middle of the belt.
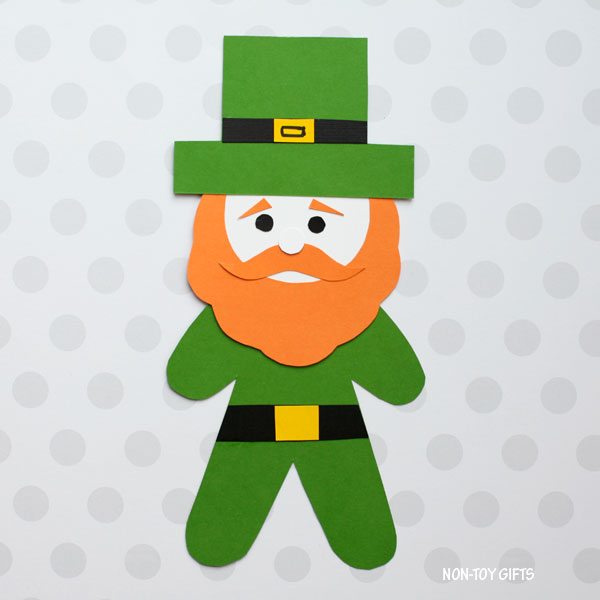

Let’s put the leprechaun together and glue the head and body together.


Use a black marker to draw the mouth .