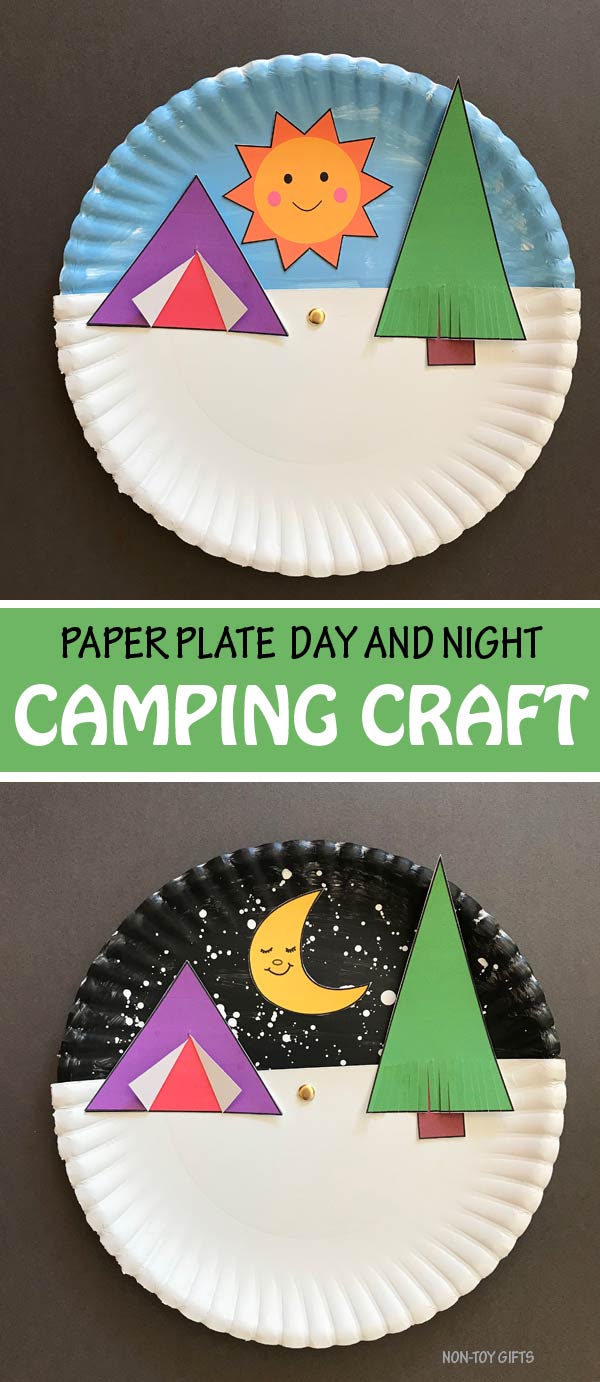
A fun interactive paper plate camping craft for kids to make on a summer day. Use the free printable at the end of the article.
Summer break starts today for us. This means lots of outdoor play, lots of ice cream and camping.
If camping is on your summer bucket list too, then I know you will love this paper plate camping craft for kids.

It’s simple, uses one of our favorite craft supplies : paper plate (check out our entire collection of paper plate crafts) and it comes with a free printable template, that you can find at the end of the article.
Our paper plate camping craft is an interactive craft. It will not only keep little ones busy while creating it but also entertained long after.
It’s a good idea to make it before you hit the road for your family camping adventure and grab it along in the car. It will build your kids’ excitement over camping.

Check out more interactive crafts for kids:
If this craft looks kind of familiar, you are right. It has some elements from our paper plate day and night. But there’s more to it.
The day and night camping idea came to me after our first camping this year. We went camping with friends on the Memorial Day Weekend.
We were lucky to have great weather during the day but at night the temperature dropped quite a lot. So much that we were seriously considering driving back home for the third night.
Instead we got into our sleeping bags with two layers on us. I was still cold but the boys were fine and didn’t complain. And as if the chili nights wasn’t enough, we were invaded by ticks – nasty little bugs. At least there were no mosquitoes.


When I told my mom-in-law about our camping adventure she couldn’t sleep at night worrying about the ticks attacking us. Next day she told me it might be a good idea not to go camping again. She made me smile. How could I do that? I love camping.
The outdoor summer games, the campfire, the s’mores, the hikes, the family time – I love it all. So much that I don’t mind half of day packing and then another half of day unpacking.
Now, let’s take out the supplies and add another cute craft to our collection of summer crafts for kids.
Paper plate camping craft


This post contains affiliate links. I may receive commissions for purchases made through links in this post at no cost to you.
Supplies:
- Free camping template – find it at the end of the post
- 2 Paper plates
- Craft paint – black, white and blue
- White cardstock paper
- Paint brush
- Scissors
- Pencil
- Hole punch
- Glue
- Paper fastener
How to make a summer camping craft
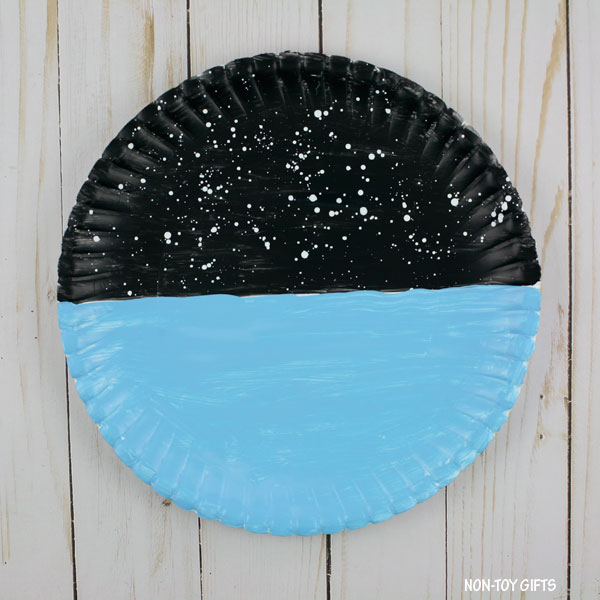
Start by tracing a line in the middle of a paper plate. Paint half of the paper plate black.


Add a few water drops to your white paint and dip the paint brush into the paint. Add the stars by placing the paint brush over the black half of the paper plate and tapping gently on the paint brush. It’s not a problem if white paint ends up on the other half of the paper plate. We will cover that half with light blue paint.


Paint the other half of the paper plate light blue.

Trace a line in the middle of the other paper plate. Now let’s trace another line just 1/2 in above the middle line. Cut along the second line.


Use a hole punch to make a hole in the middle of the second paper plate, along the middle line.


Download the camping template (find it at the end of the post) and cut out all the patterns.
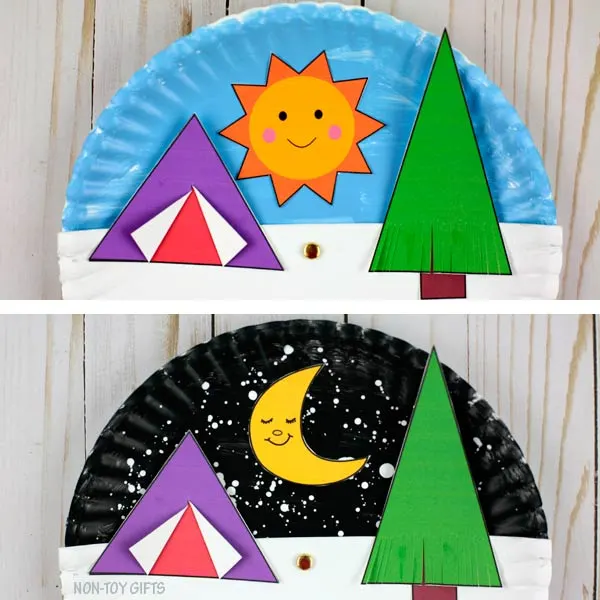
Glue the sun in the middle of the blue half of the painted paper plate and the moon in the middle of the black half. The sun and moon need to face each other.


Cut slits at the bottom of the green triangle.


Glue the tree trunk (brown rectangle) onto the white paper plate. It will go on one side of the middle hole. Glue the green triangle on top of the brown rectangle. We have the fir tree now.


Let’s make the tent. Cut along the middle line onto the purple triangle. Fold the paper towards the outside of the opening. Glue the purple triangle on the red triangle. Add the tent to the paper plate, on the other side of the middle hole.


Place the white paper plate on top of the painted paper plate and use a pencil to mark through the hole the middle of the painted paper plate. Use the pencil to make a hole.


Connect the two paper plates with a paper fastener.
I hope your kids like our paper plate camping craft and will keep them busy and happy.
An interactive paper plate camping craft for kids to make this summer. Get kids excited over the nature adventure, living in a tent, making a campfire and smores and outdoor family games with this easy and fun craft. Use the printable template.

Paper plate camping craft
Materials
Tools
Instructions