Make paper cup Jack’O’Lantern pumpkins that will glow in the dark on Halloween night. They are cute, not scary for little kids and easy to make.


Our paper cup witches have been a big hit with both my boys and our readers. So I decided to make a Jack’O’Lantern version to go along.
It turned out so adorable that I can’t make up my mind which are my favorites – the witches or the pumpkins.
Right now they are side by side on our fireplace. On a gloomy day like today, they all look so fun and funny with their noses glowing in the dark.


RELATED: Check out our entire series of paper cup Halloween crafts.
Here are some of the other Halloween crafts we have created with paper cups:
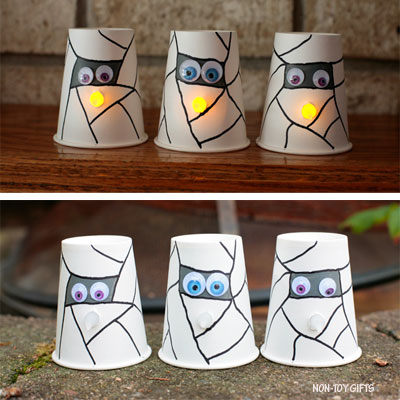


More paper cup Halloween crafts:


Make these Jack-O-Lanterns as an alternative to the regular carved pumpkins. Perfect if you have young kids and you don’t want to handle sharp tools around them.
More pumpkin crafts for kids:
- Halloween pumpkin paper hats
- Halloween handprint keepsake
- Pumpkin shape matching activity for preschoolers


This post contains affiliate links. I may receive commissions for purchases made through links in this post at no cost to you.
One Craft Two Versions
You can chose between two versions when creating these paper cup Jack’O’Lanterns.
The easier version would be to just paint the paper cup, draw the face and add the candle light for the nose.
You can take it a step further and add a craft stick for the stem and a green pipe cleaner for the leaf. This requires making a little slit on top of the paper cup and because you will need to use a craft knife, this will be an adult only step.


Paper Cup Jack’O’Lantern Pumpkins
Supplies:
- white paper cups
- orange craft paint and paintbrush
- flameless tea light candles
- pencil
- black marker
- craft knife
- craft stick
- green pipe cleaner
- scissors
How to Make a Paper Cup Jack-O-Lantern Craft


Start by painting the paper cups orange. Wait for the paint to dry completely and apply another coat.
You can skip the painting step and use orange paper cups instead. This would be great if you’re crafting with young kids who don’t have enough patience to wait for the paint to dry.


Once the paint has dried completely use a pencil to poke a little hole in the middle of the cup.


You can add the light candle now, if you like to, but I found it easier to do the face drawing first and only then add the candle.


Use a pencil to outline the eyes and mouth and then a black marker to draw the Jack’O’Lantern faces. I used as inspiration these no-carve Jack’O’Lanterns we created a few years back.


Slide the “flame” of the tea light candle through the hole from the inside.


If you want to add the stem and leaf, use a craft knife to make a little slit on top of the paper cups. (adult only step). Slide a craft stick through the slit and wrap a green pipe cleaner around the craft stick. Cut it at the desired length.


Paper cup Jack'O'Lantern craft
Make a paper cup Jack-O-Lantern craft that not only looks adorable but also has a glow in the dark nose.
Materials
- white paper cups
- orange craft paint and paintbrush
- flameless tea light candles
- pencil
- black marker
- craft stick
- green pipe cleaner
Tools
- scissors
- craft knife
Instructions
- Start by painting the paper cups orange. Wait for the paint to dry completely and apply another coat.
- Once the paint has dried completely use a pencil to poke a little hole in the middle of the cup.
- You can add the light candle now, if you like to, but I found it easier to do the face drawing first and only then add the candle. U
- se a pencil to outline the eyes and mouth and then a black marker to draw the Jack’O’Lantern faces.
- Slide the “flame” of the tea light candle through the hole from the inside.
- If you want to add the stem and leaf, use a craft knife to make a little slit on top of the paper cups. (adult only step). Slide a craft stick through the slit and wrap a green pipe cleaner around the craft stick. Cut it at the desired length.
Notes
You can skip the painting step and use orange paper cups instead. This would be great if you’re crafting with young kids who don’t have enough patience to wait for the paint to dry.
Recommended Products
As an Amazon Associate and member of other affiliate programs, I earn from qualifying purchases.


